There’s something quietly satisfying about opening a storage bin and finding a soft, fabric-lined basket inside. The outside of the bin can be plain plastic, woven seagrass, or thrifted metal, but the moment you add a fabric liner, the whole thing looks intentional, cozy, and a little more like home.
Fabric basket liners are one of those small DIY projects that solve a bunch of problems at once. They protect delicate items from snags, keep small things from slipping through woven gaps, add a pop of color or pattern to an otherwise dull shelf, and make every storage bin feel a little more curated. Whether you’re organizing a nursery, a craft room, a bathroom, or a chaotic linen closet, the right liner can turn a basic bin into something you actually want to look at.
The best part is that most of these projects don’t require a sewing machine, a huge budget, or a fabric store run. Many of them start with a fat quarter, a remnant, or a piece of fabric you’ve been holding onto “for someday.” Today is someday. Below are ten different ways to make DIY fabric basket liners, ranging from no-sew options you can finish during a single TV episode to slightly more polished projects that turn into heirloom-quality organization.
Pick the one that fits your skill level, your fabric stash, and the room you’re trying to tame. Mix and match patterns across bins for a collected, layered look, or choose a single print and repeat it across every shelf for a more uniform vibe. Either way, your storage will never look the same.
Fabric basket liners are a quick, affordable way to upgrade plain storage bins with color, softness, and personality. From no-sew fabric drops and hemmed fabric inserts to gathered drawstring liners, reversible double-sided covers, and quilted padded options, there are easy ways to dress up woven baskets, plastic bins, wire racks, and nursery cubbies. Most projects use cotton fabric, fat quarters, or fabric remnants, and many can be completed in under an hour with basic tools like fabric scissors, a hot glue gun, or a simple running stitch.
1. No-Sew Drop-In Fabric Liner
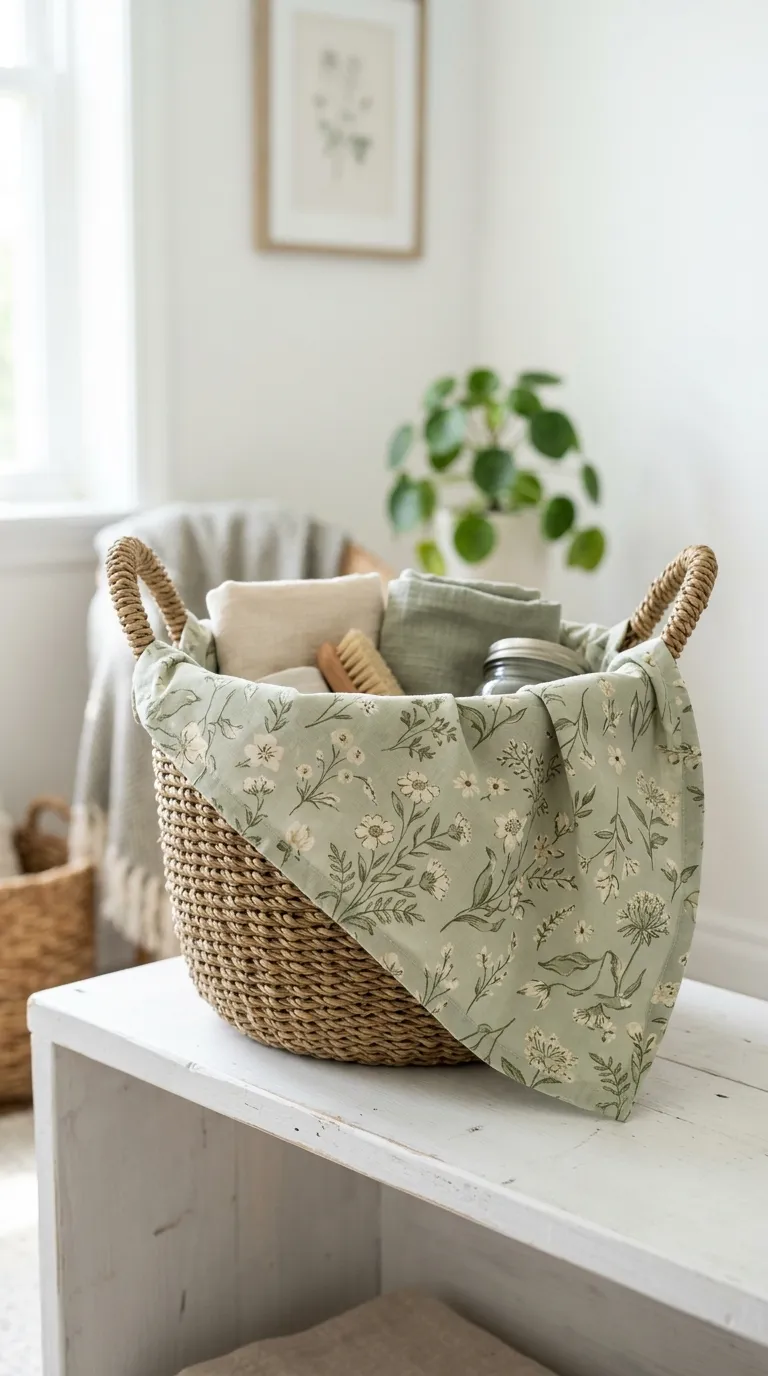
If you’ve never made a fabric liner before, this is the project to start with. A no-sew drop-in liner is basically a rectangle of fabric you cut slightly larger than the inside of your basket, then press down into the corners so it lines the inside. The excess fabric drapes over the rim, hiding any rough or unfinished edges of the bin.
For this project, you’ll need a piece of cotton fabric (a fat quarter works for small bins, a half yard for larger ones), sharp fabric scissors, a ruler or measuring tape, and an iron. Start by measuring the interior width and depth of your basket. Add about two inches to each side measurement so the liner has enough fabric to fold over the rim and pool softly inside the bottom. Cut a rectangle to those dimensions.
To prevent fraying, you can fold each edge under twice and press with a hot iron, or run a thin line of fabric glue or hem tape along the raw edges. Drop the fabric into the bin, press it into the corners with your fingers, and smooth the sides. The whole project takes about fifteen minutes, costs a few dollars, and looks surprisingly polished when you use a fabric with a little drape, like a soft quilting cotton or linen blend.
This style is wonderful for open shelves where the liner is visible from every angle. It also makes seasonal switching easy: store the liners folded flat and swap them out for holidays or new color schemes.