There’s something quietly satisfying about flipping through a magazine in a room that actually feels finished. The couch is comfortable, the lighting is right, and somewhere within arm’s reach sits a magazine rack that holds your current reads instead of letting them sprawl across the coffee table. The thing is, most ready-made wooden magazine racks fall into one of two camps: too expensive for what they are, or too mass-produced to feel personal.
Building your own wooden magazine rack solves both problems. You get to pick the wood, the finish, the dimensions, and the overall vibe, whether that’s rustic farmhouse, clean Scandinavian, mid-century, or something that looks like a piece your grandmother would have loved. A few boards, some basic tools, and a free afternoon are usually all it takes to create a piece that looks like it came from a boutique home shop.
The ten ideas below range from beginner-friendly weekend projects to slightly more involved builds for folks who enjoy spending real time in the workshop. Each one includes practical details about materials, time, difficulty, and how to make the finished piece feel like it truly belongs in your living room.
Wooden magazine racks are a popular DIY project because they’re practical, customizable, and relatively affordable compared to store-bought versions. The best designs combine simple joinery, quality wood, and a finish that complements your living room’s existing style. Popular approaches include leaning wall racks, freestanding floor styles, box-style holders, and wall-mounted pockets, all of which can be built with basic tools and materials from any home improvement store.
1. Rustic Reclaimed Wood Floor Rack
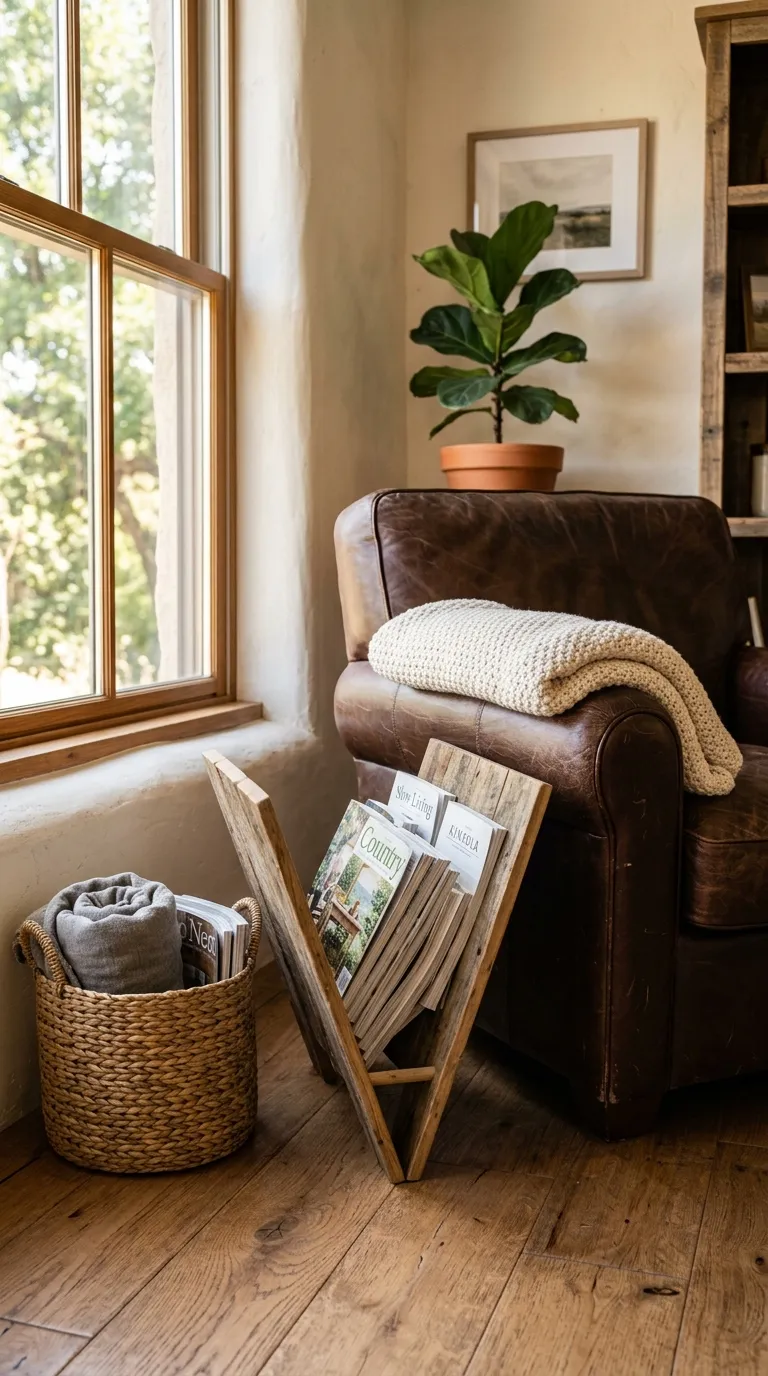
If you love the look of weathered character marks, a rustic floor rack built from reclaimed wood is hard to beat. Old barn wood, salvaged fence boards, or even pallets that have been properly heat-treated can become a magazine rack with soul. The nicks, knots, and varied grain patterns do most of the visual work for you.
Start with three vertical side panels cut to roughly 22 inches tall and 14 inches wide, plus two horizontal base pieces around 16 inches long. The design is essentially a wide V-shape with a flat back. Slot the pieces together using simple pocket holes or wood screws driven from the inside so they stay hidden. Sand lightly to smooth rough edges without removing all the patina.
Materials: reclaimed wood planks, wood screws or pocket hole screws, wood glue, sandpaper, matte polyurethane or hardwax oil. Time: 4 to 6 hours including drying. Difficulty: beginner to intermediate. For a slightly cleaner look, plane the roughest boards first. Skip the finish entirely if you want the wood to continue aging naturally over time.
Style it in a corner beside a leather armchair with a woven basket on the floor next to it, holding extra throws. The mixed wood tones play beautifully against neutral upholstery and greenery.