10. Illuminated Shadow Box with Fairy Lights
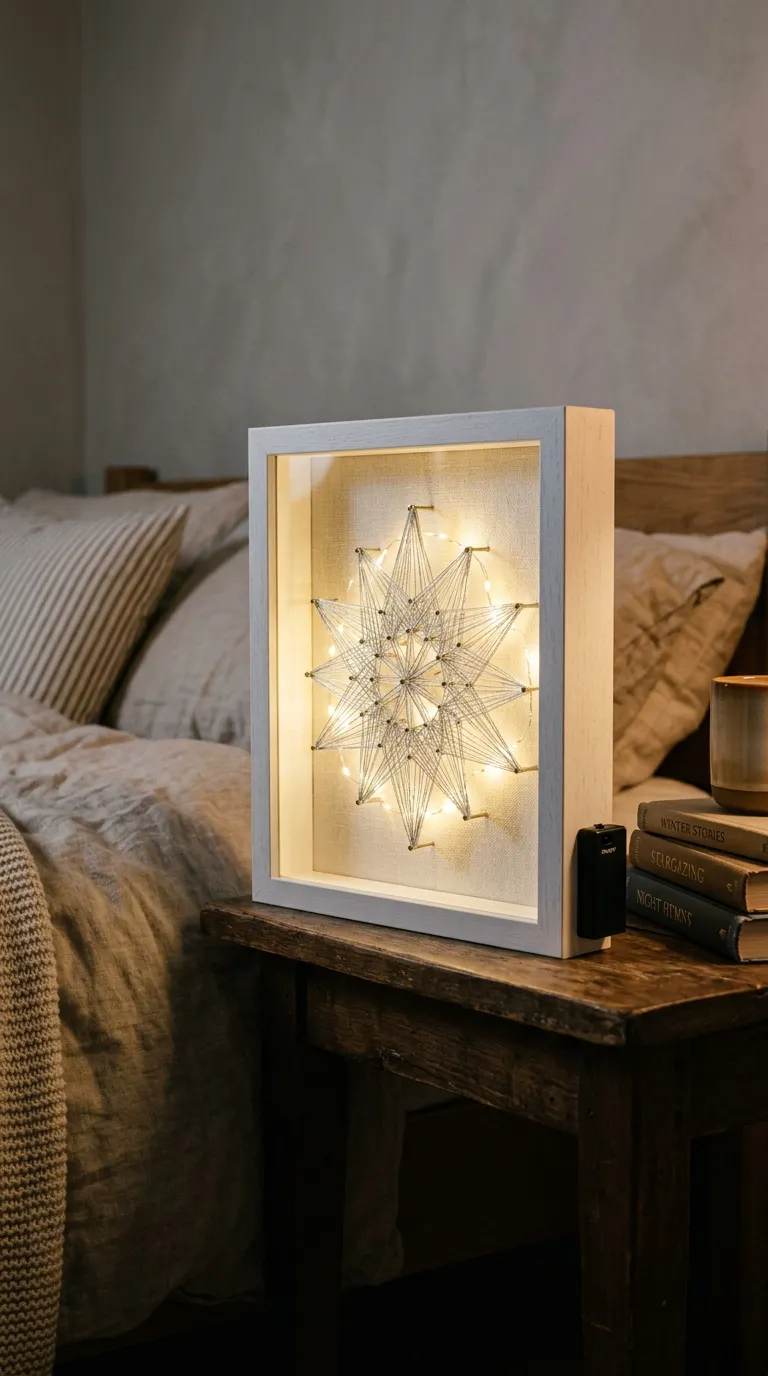
This is the project that makes people ask where you bought it. Build a shallow wooden box or use a deep shadow box frame, create your string art on the back panel, then string a short set of battery-operated fairy lights through the nails before you close it up.
Choose a design with open space, like a simple word, a star, or a constellation, so the light has room to glow around the threads. Run the lights along the back of the nails rather than the front, and secure the battery pack to the outside of the frame with adhesive strips so you can switch it on easily.
Materials: shadow box frame, nails, metallic or light-colored thread, LED fairy lights with a battery pack, and a small screwdriver. Time: 2 to 3 hours. Difficulty: intermediate. This piece shines in a bedroom, a dorm room, or anywhere you want a soft glow in the evening without turning on overhead lights.
How much thread do I need for a string art project?
It depends on the size of the board and how densely you wrap. As a rough guide, a 12-by-12-inch piece with a medium-sized shape usually uses one to two skeins of embroidery floss. Larger boards, dense fills, or multi-color designs can easily use four or more. Buying an extra skein is cheaper than stopping mid-project.
What kind of board works best for string art?
Pine, poplar, and birch plywood are all good choices because they are soft enough to hammer into without splitting. Reclaimed wood adds character but may need sanding first. Avoid very hard woods like oak unless you pre-drill the nail holes, and always sand and seal your board before nailing if you plan to stain or paint it.
How do I keep my nails evenly spaced and straight?
Mark your nail points on the template before you start, spacing them about a quarter to half inch apart. Hammer each nail to the same height by checking against a scrap of wood or a small ruler held alongside. Tapping gently with several light hits keeps nails straighter than one hard blow.
Can I make string art without a printed template?
Absolutely. Freehand designs like sunbursts, abstract waves, and geometric diamonds are forgiving enough to draw directly on the board with a pencil. For anything with recognizable shapes, though, a template saves a lot of frustration and gives you cleaner lines.
Is string art suitable for beginners?
Yes, and it is one of the more approachable crafts for someone who has never made wall decor before. Start with an abstract pattern, a simple monogram, or a bold silhouette. Save detailed designs with tight curves and thin lines for your second or third project.
How do I hang string art without damaging my walls?
Use a sawtooth hanger or a picture-hanging hook rated for the weight of your board. String art with a thick wooden base can be surprisingly heavy, so choose hardware accordingly. Adhesive strips work for smaller, lightweight pieces, but they may not hold a large board safely.
Can kids help with string art?
Older children and teens can help with wrapping the thread, which is the safest and most enjoyable part. Hammering and handling nails should stay with an adult. If you want a kid-friendly version, use a foam board and plastic pushpins instead of nails and wood.
String art has a way of turning a plain board and a spool of thread into something you actually want to hang on your wall. Pick the idea that speaks to you, gather your supplies, and give yourself permission to make a few mistakes along the way. The imperfections are part of what makes handmade decor feel warm and lived-in.
Start with one project, finish it, and hang it somewhere you will see it every day. Then let your imagination run: change the colors to match your room, swap in a shape that means something to you, or scale the design up for a big empty wall. Your home will feel more like yours for it.