There’s something special about stepping into a backyard that feels like your own little hideaway. A garden trellis fence does more than just mark a boundary—it creates a soft, living wall that turns an open yard into a cozy retreat. Whether you’re trying to block a neighbor’s view, hide an unsightly fence, or simply add a touch of charm to your outdoor space, a DIY trellis can transform the whole feel of your garden.
Building your own trellis is one of those projects that sounds intimidating but is genuinely approachable. Most of these ideas use affordable materials, basic tools, and a few afternoons of good-weather tinkering. You don’t need to be a master woodworker or a professional gardener. You just need a vision, a trip to the hardware store, and maybe a podcast to keep you company while you work.
What I love most about trellis fences is how beautifully they grow over time. A bare structure today can become a wall of climbing roses, cascading clematis, or a curtain of greenery within a single growing season. They’re living architecture—and the best part is that you built them yourself.
If you’ve been craving a little more privacy without investing in a heavy-duty fence, these ten DIY garden trellis fence ideas are a wonderful place to start. Each one offers a different look, skill level, and vibe, so you can find the one that fits your yard and your weekend schedule.
Quick Answer: DIY garden trellis fences for privacy are budget-friendly, customizable structures—usually made from wood, metal, or repurposed materials—that support climbing plants while creating a natural visual barrier. Popular options include cedar lattice panels, pallet trellises, arched garden fences, copper pipe screens, and woven willow designs. Most projects take a single weekend and cost far less than hiring a fence installer, while doubling as a beautiful vertical garden feature.
1. Classic Cedar Lattice Trellis Fence
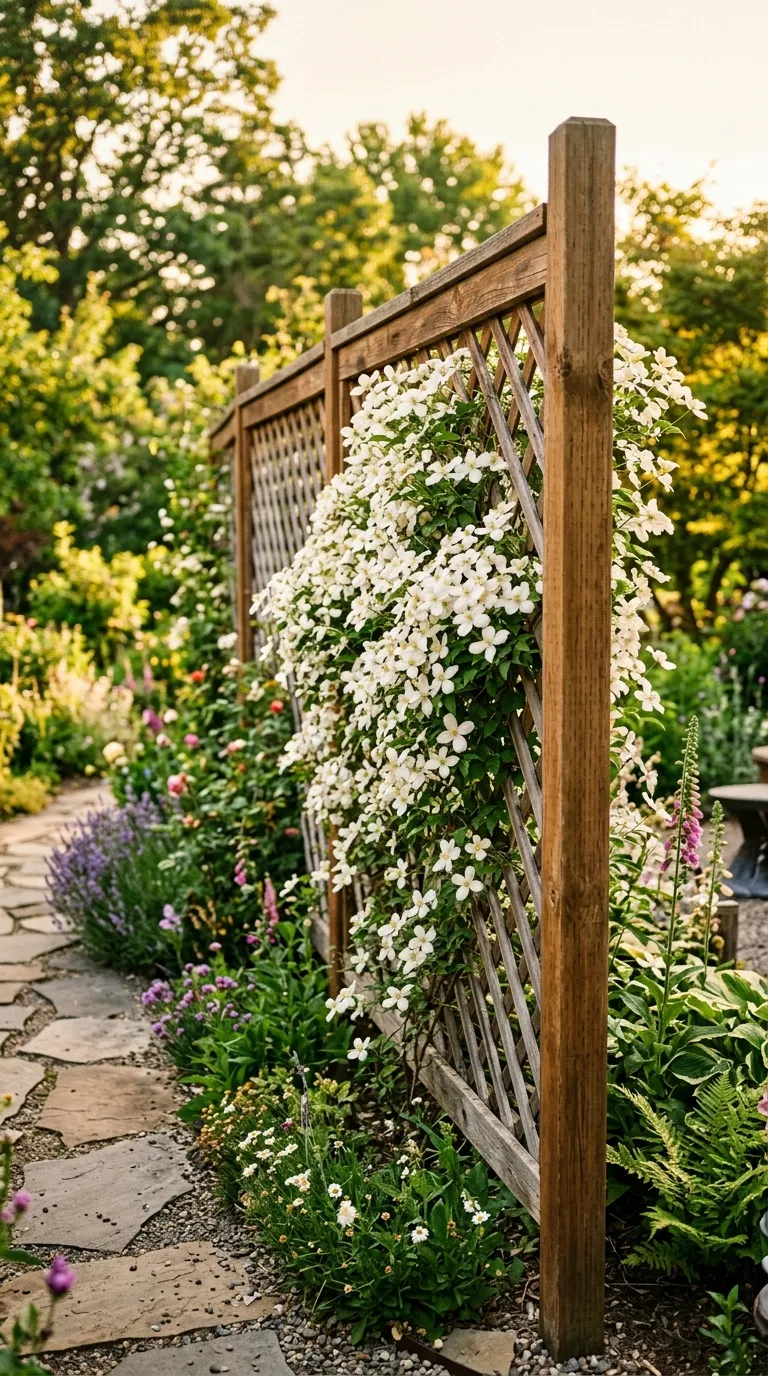
A classic cedar lattice trellis is the gold standard for a reason. The crisscross pattern gives climbing plants plenty to grab onto, the wood weathers to a soft silvery gray if left untreated, and cedar naturally resists rot and insects. This is the project I’d recommend for a first-timer because the materials are forgiving and the results look polished even if your cuts aren’t perfect.
Materials: 1×2 cedar boards for the frame, 4×4 cedar posts, pre-made lattice panels (usually sold in 4×8 foot sheets), exterior wood screws, gravel for post holes, and a stain or sealant if you want to preserve the warm cedar tone.
Time: A full weekend, with most of the time spent letting the concrete cure around the posts.
Difficulty: Beginner to intermediate. You’ll want a drill, a level, and a miter saw (or have the hardware store make your cuts).
Start by mapping out your fence line with stakes and string. Dig post holes about two feet deep, drop in a few inches of gravel for drainage, set your 4×4 posts, and fill with quick-setting concrete. While the posts cure, build your lattice frames by sandwiching the lattice between two layers of 1×2 boards—this gives the panels a clean edge and a little extra strength. Attach the framed panels to the posts with exterior screws, leaving a small gap at the bottom so the wood doesn’t sit in moisture.
For plants, climbing hydrangea, honeysuckle, and clematis are reliable choices. If you want seasonal color, pair morning glories or sweet peas at the base and let them weave up the lattice for a cottage-garden look.
💡 Pro Tip: Stain the posts and frame a slightly darker shade than the lattice itself. The contrast adds depth and makes the structure look more intentional and finished.