4. Copper Pipe Trellis Wall
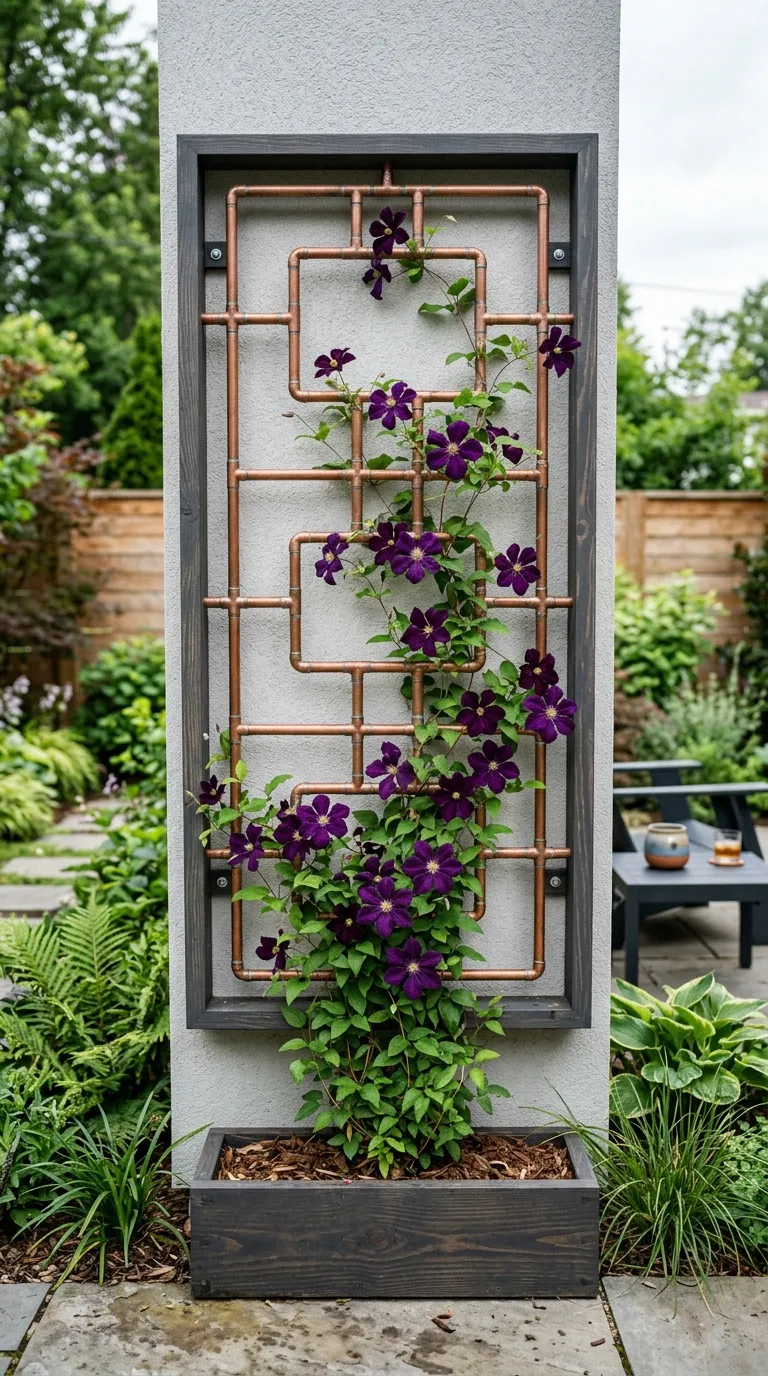
For a modern, sculptural look, a copper pipe trellis is hard to beat. Copper develops a gorgeous patina over time, shifting from shiny penny-bright to warm bronze, then eventually to that soft blue-green everyone loves. The clean geometric lines pair beautifully with lush green plants, creating a striking contrast.
Materials: ½-inch copper pipe, copper fittings (elbows, tees, and caps), pipe cutter, sandpaper, and copper solder or epoxy for the joints. You’ll also need a wooden or metal base frame to mount the grid.
Time: A full day, mostly spent measuring and cutting.
Difficulty: Intermediate. Soldering isn’t required if you use compression fittings or two-part epoxy.
Lay out your design on a flat surface first. A simple grid of squares or a more decorative pattern of diamonds and rectangles both look great. Cut your pipes to length with a pipe cutter (it’s easier than a saw and gives a cleaner edge), dry-fit everything to make sure the dimensions are right, then join the pieces. Mount the finished copper grid to a wooden frame painted black or deep green, and attach it to your fence posts or wall.
Because the grid is fairly open, this style works best with plants that have tendrils—clematis, sweet peas, or passionflower. For a year-round green screen, train English ivy with care, or use artificial greenery woven through the copper for an always-lush look.
💡 Pro Tip: If you want the patina to develop faster, wipe the copper with a mixture of white vinegar and salt. It accelerates oxidation and gives you that aged look in a weekend.