There’s something undeniably magical about snowflakes. They fall gently, each one a tiny miracle of geometry, and they make the world feel hushed and soft. But real snowflakes melt by morning, and if you live somewhere warm (or even somewhere cold but just want a longer-lasting display), you can capture that same delicate beauty with felt. Felt snowflakes are one of the most rewarding winter crafts you can make, because they look intricate without being difficult, and they store flat so you can use them year after year.
The beauty of felt is that it doesn’t fray, which means you don’t need to be a seamstress to make something gorgeous. A simple pair of scissors and a bit of glue can take you a long way. If you do sew, you can create heirloom-quality pieces that look stunning on a Christmas tree, hanging in a window, or layered onto a winter wreath.
This collection of 10 DIY felt snowflake ideas for winter decor is designed to inspire every skill level, from the absolute beginner to the experienced crafter looking for a new challenge. Some take ten minutes. Some take a relaxing afternoon. All of them are budget-friendly, customizable, and made to bring that soft, snowy feeling into your home from November through March.
So pour yourself something warm, clear a corner of the kitchen table, and let’s start cutting snowflakes.
If you’re short on time, here’s the quick version: these 10 DIY felt snowflake ideas for winter decor include classic cut-and-glue shapes, layered 3D designs, embroidered keepsakes, garlands, ornaments, wreath accents, window silhouettes, gift toppers, table runners, and pillow appliqués. Most projects use craft felt from any big box store, basic scissors, and either hot glue or a simple running stitch. You can complete the quickest projects in under fifteen minutes, while the more detailed ones make wonderful weekend crafts. All are customizable with your favorite winter color palette.
1. Classic Six-Pointed Felt Snowflake Cutouts
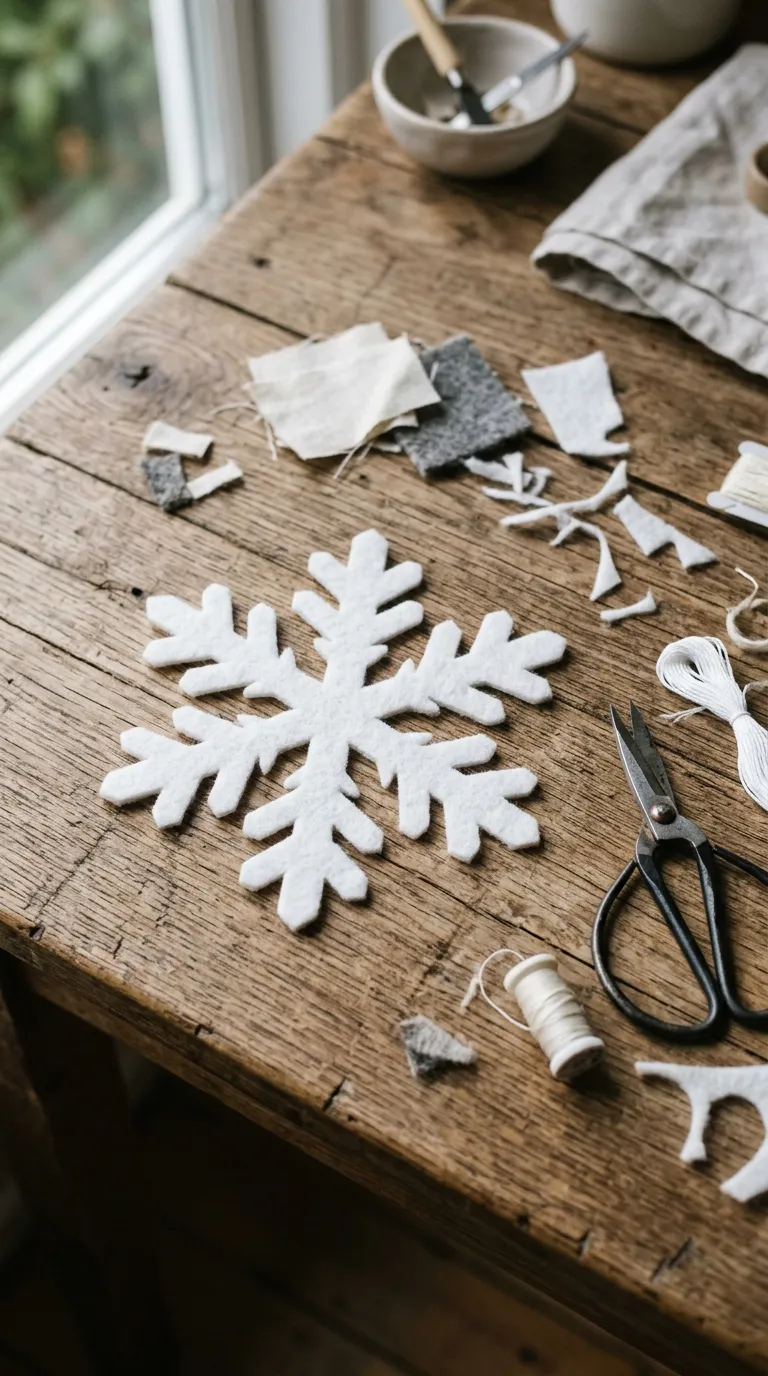
Let’s start with the foundation. Before you branch out into layered designs and 3D showstoppers, it helps to master the classic flat snowflake. These are the snowflakes you’ll want to make by the dozen because they look gorgeous clustered together in a window or strung along a mantel.
You’ll need a sheet of white craft felt, sharp fabric scissors, a pencil, a ruler, and a circle template (a drinking glass works perfectly). Fold the felt square in half diagonally to make a triangle, then in half twice more until you have a narrow wedge. Sketch a simple pattern along the folded edges, cut away the pieces you want to remove, and unfold to reveal a six-pointed snowflake.
The trick to a beautiful cut snowflake is keeping your cuts simple and not removing too much. Think small triangles, tiny diamonds, and gentle curves. Once unfolded, you can leave the snowflake as-is or add a few small beads or sequins in the center for sparkle. These take about 10 minutes per snowflake and are genuinely beginner-friendly.
Display them by taping them directly to windows with washi tape, layering several together in a shadowbox frame, or attaching a loop of twine to hang them from a branch. If you want a modern color twist, try ice blue, pale silver, or even a soft blush instead of plain white.
A common mistake is cutting too aggressively. Remember, the negative space you remove defines the shape. Less really is more with these.