Have you ever walked through a garden center and gasped at the price of cedar raised beds? It’s enough to make any aspiring gardener put down the seeds and walk away. But what if you could have a productive, beautiful garden without spending a dime on lumber?
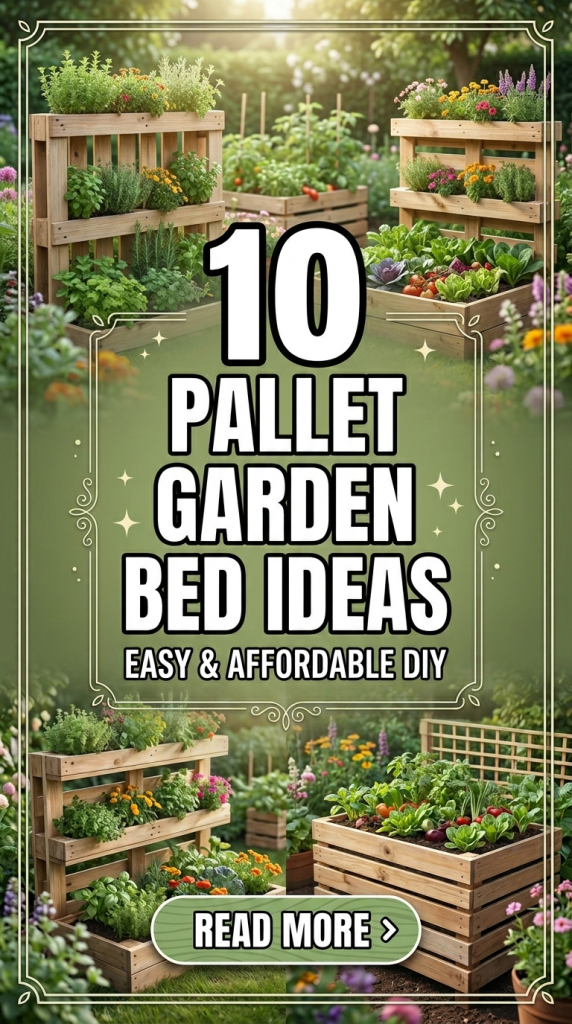
The secret is in the pallet. Because pallets are already built to hold immense weight, they make the perfect “bones” for garden beds. Whether you have a tiny balcony or a massive backyard, these 10 Pallet Garden Bed Ideas will help you grow organic vegetables, fresh herbs, and stunning flowers on a shoe-string budget.
Let’s turn that “waste” wood into a garden oasis that looks like it belongs in a magazine!
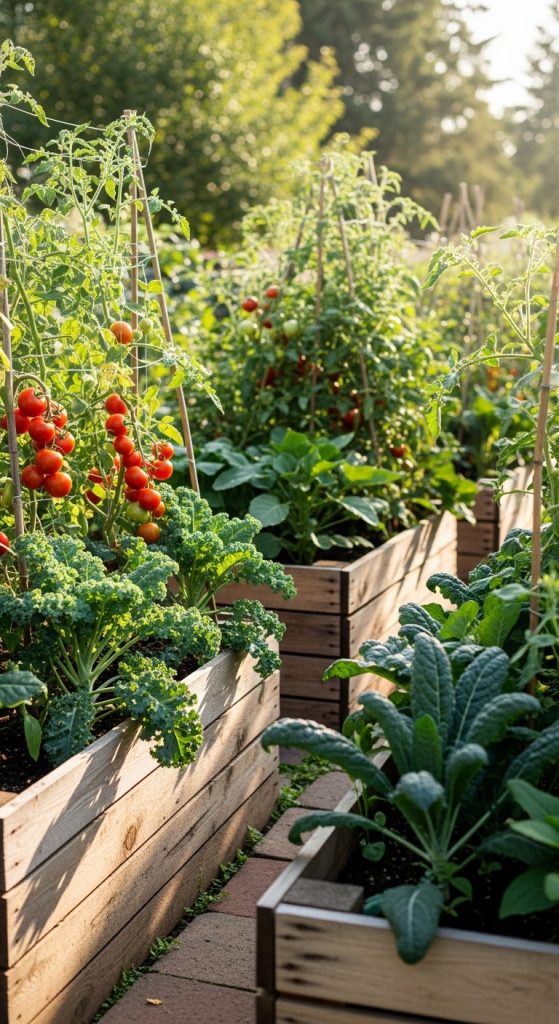
1. The Standard Raised Pallet Box
This is the “gold standard” for pallet gardening. By using four pallets as the walls, you create a deep, raised bed that is easy on your back and keeps weeds at bay.
- Materials Needed:
- 4 Matching pallets
- Corner brackets or 2×4 scraps
- Landscape fabric or cardboard (for the bottom)
- High-quality garden soil
- Steps:
- Stand the four pallets in a square.
- Screw them together at the corners using brackets or wooden blocks.
- Line the inside walls with landscape fabric to keep soil from falling through the slats.
- Fill the bottom with cardboard (to kill grass) and top with soil.
- Pro Tip: This bed is deep! Use the “Hugelkultur” method: fill the bottom half with old logs and branches to save money on soil.
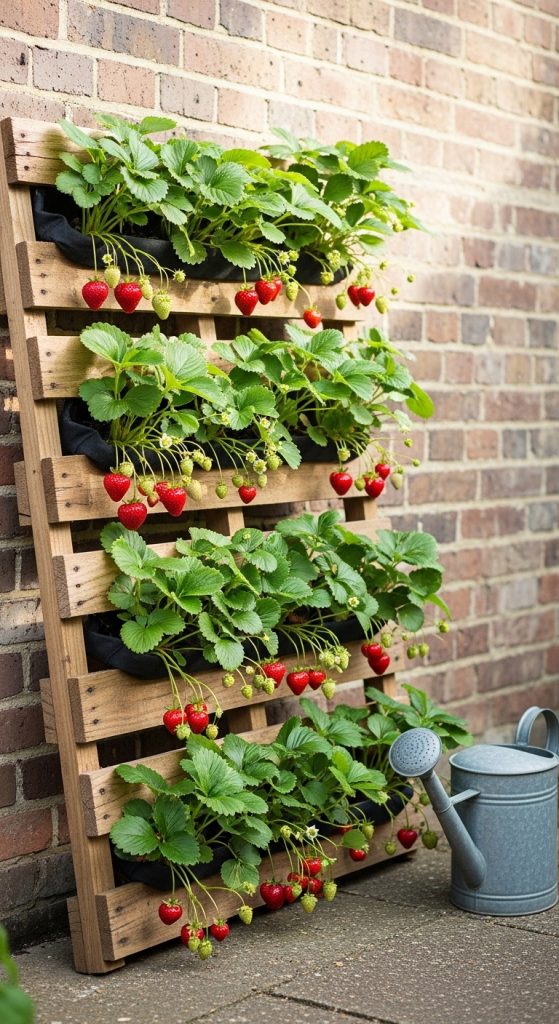
2. The Vertical Strawberry Wall
Strawberries love to hang! This idea uses a pallet leaning against a wall to create “shelves” for berry plants, keeping the fruit off the ground and away from slugs.
- Materials Needed:
- 1 Unbroken pallet
- Landscape fabric and heavy-duty staples
- Strawberry starts
- Steps:
- Staple landscape fabric across the back and bottom of each horizontal slat to create “pockets.”
- Lean the pallet against a sunny wall.
- Fill the pockets with potting mix.
- Tuck your strawberry plants into the gaps.
- Pro Tip: Plant “everbearing” strawberries so you get fruit all summer long instead of just in June.
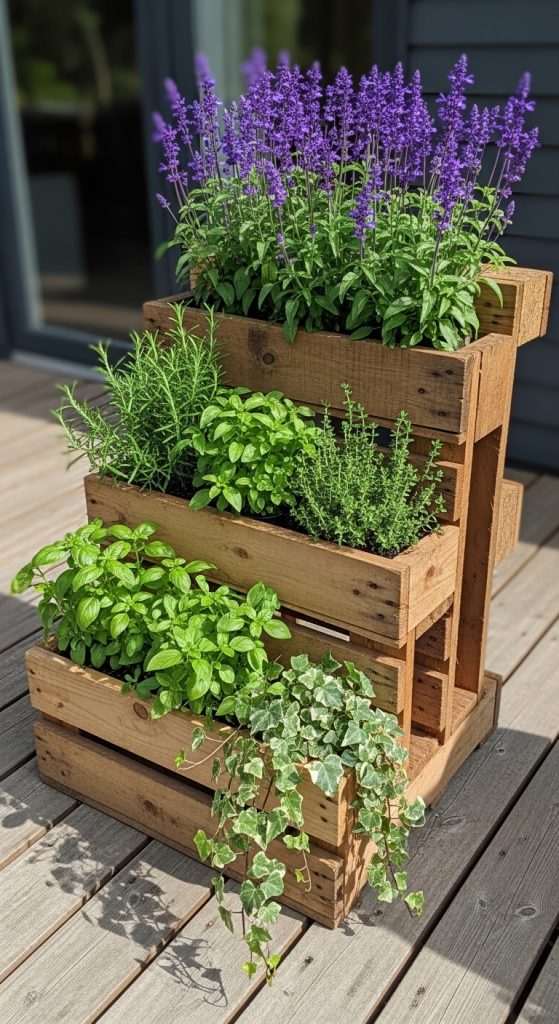
3. The Tiered “Staircase” Planter
By cutting pallets into different sizes and stacking them, you create a staircase effect. This is perfect for a stunning flower display or a mix of different herbs that require different levels of sunlight.
- Materials Needed:
- 3 Pallets
- Circular saw
- Exterior screws
- Steps:
- Cut one pallet into three sections: large, medium, and small.
- Stack them so they form “steps.”
- Secure each level to the one below it.
- Add bottom boards to each “step” to hold the soil.
- Pro Tip: Put your tallest plants (like tomatoes) in the back and trailing plants (like petunias) in the front.
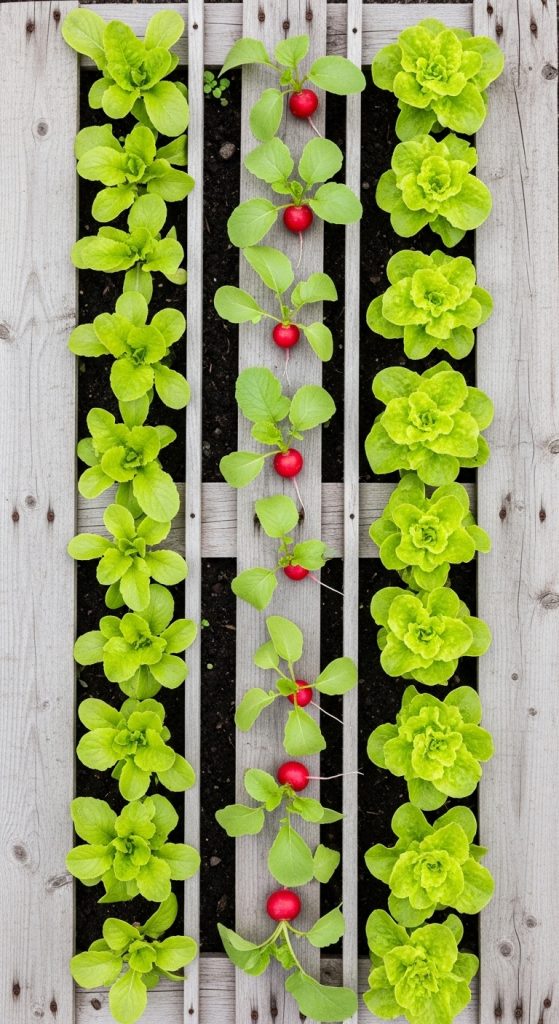
4. The “No-Dig” Salad Bar
If you want to grow lettuce, spinach, and kale, you don’t need a deep bed. This idea lays the pallet flat on the ground, using the slats as natural “rows” to keep your greens organized.
- Materials Needed:
- 1 Pallet
- Weed barrier fabric
- Potting soil and salad seeds
- Steps:
- Lay weed barrier on the ground where you want the bed.
- Place the pallet flat on top of the fabric.
- Fill the spaces between the boards with soil.
- Plant your seeds in the rows created by the wood.
- Pro Tip: The wood acts as a “mulch,” keeping the soil cool and moist—perfect for leafy greens that hate the heat.
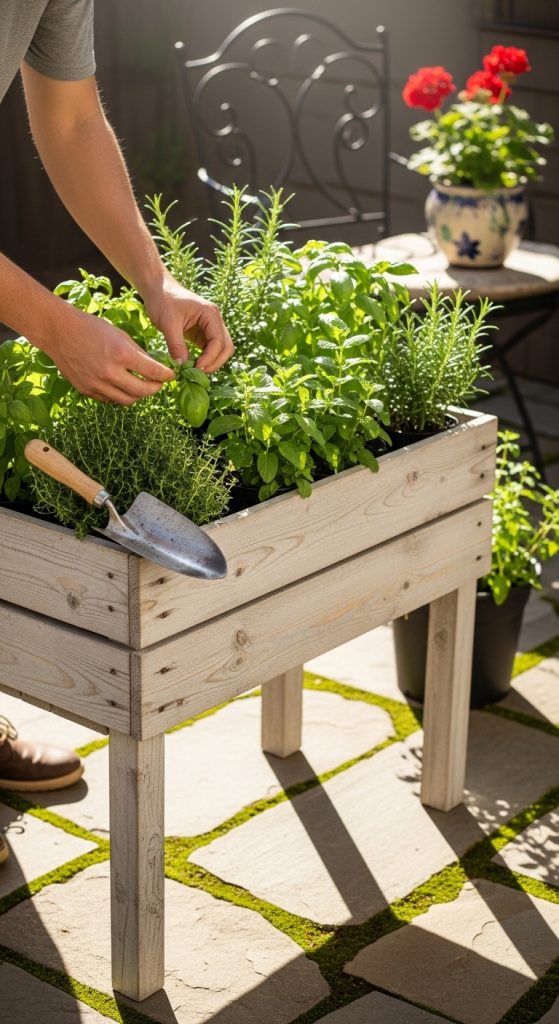
5. The Elevated Waist-High Bed
No more sore knees! By adding legs to a pallet frame, you bring the garden up to you. This is a game-changer for senior gardeners or anyone with a bad back.
- Materials Needed:
- 1 Pallet (for the bed)
- 4×4 posts (for legs)
- Scraps for the “floor” of the bed
- Steps:
- Take a pallet and nail boards across the bottom to create a solid floor.
- Attach 4×4 legs to the four corners at waist height.
- Reinforce the legs with diagonal cross-braces.
- Line with plastic (with drainage holes) and fill with soil.
- Pro Tip: Add small wheels (casters) to the legs so you can move your garden to follow the sun.
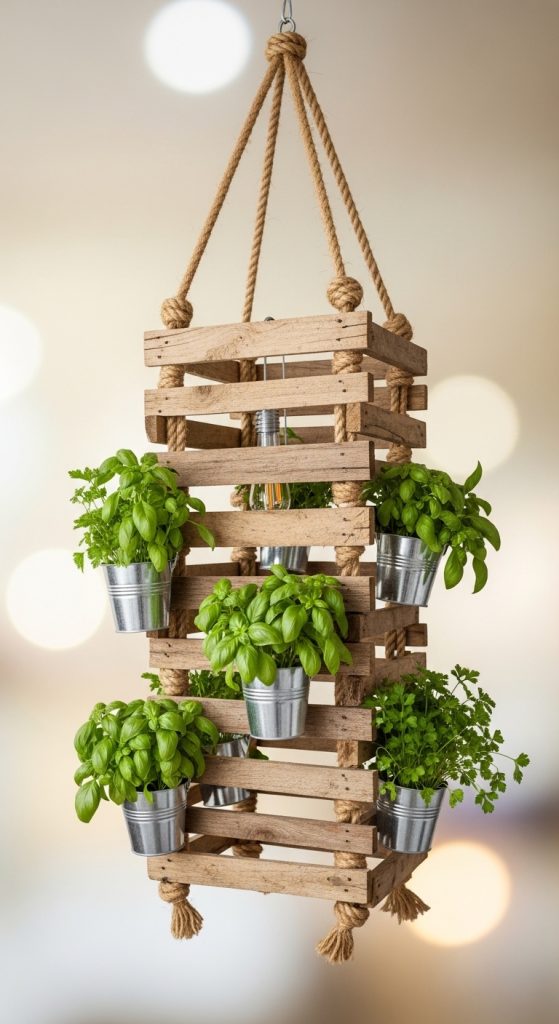
6. The Pallet Herb Chandelier
Who says garden beds have to be on the ground? This vertical idea involves hanging pallet slats from a porch or a sturdy tree limb, creating a floating herb garden.
- Materials Needed:
- Individual pallet slats
- Heavy-duty rope or chain
- Small galvanized buckets
- Steps:
- Clean and sand three or four pallet slats.
- Drill holes in the corners of each slat.
- Thread the rope through the holes, knotting it under each board to create “shelves.”
- Place herb pots on each shelf.
- Pro Tip: Ensure your “chandelier” is balanced! Place heavier pots on the bottom shelf to keep it from swinging too much.
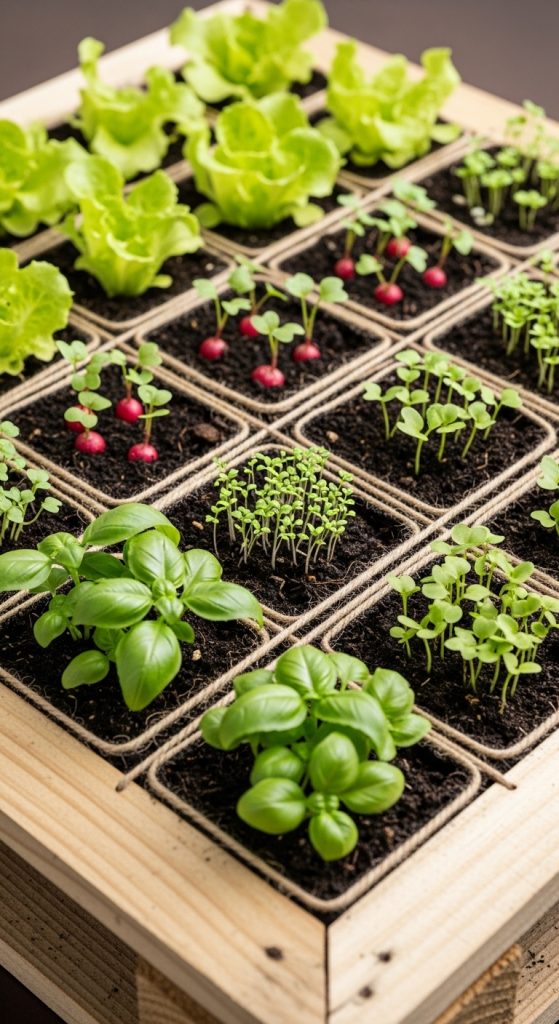
7. The Square Foot Pallet Garden
The “Square Foot Gardening” method is famous for high yields. You can easily adapt a pallet by adding thin strips of wood to divide the surface into perfect 12-inch squares.
- Materials Needed:
- 1 Large pallet
- Thin lath or twine (for the grid)
- Compost-rich soil
- Steps:
- Follow the “Standard Raised Box” steps to build the frame.
- Fill with a mix of compost, peat moss, and vermiculite.
- Use twine to mark out 1-foot squares.
- Plant a different crop in each square (e.g., 1 tomato in one, 9 spinach in another).
- Pro Tip: This is the best way to get the most food out of a very small backyard.
8. The Pallet Trellis Bed
For climbing plants like cucumbers, pole beans, or peas, you need height. This bed uses one pallet on the ground and another stood up vertically as a built-in trellis.
- Materials Needed:
- 2 Pallets
- “L” brackets
- Zip ties or wire
- Steps:
- Build a basic low bed with the first pallet.
- Attach the second pallet vertically at the back of the bed.
- Secure the vertical pallet with brackets so it doesn’t blow over in the wind.
- Plant your “climbers” at the base of the vertical pallet.
- Pro Tip: Use the vertical pallet to hang your gardening tools when you aren’t using them.

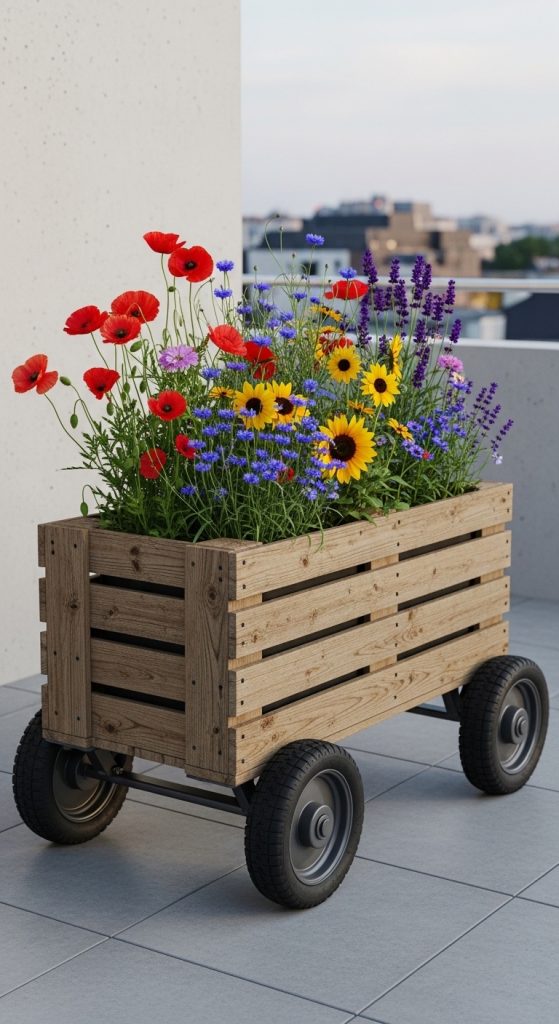
9. The Mobile Pallet Planter
Perfect for renters or people with small patios. This uses half-pallets to create a deep “trough” that can be moved around easily.
- Materials Needed:
- 1 Pallet cut in half
- Plywood for the ends
- Heavy-duty wheels
- Steps:
- Cut a pallet in half.
- Use the two halves as the front and back of your planter.
- Seal the ends with scrap wood or plywood.
- Bolt wheels to the bottom four corners.
- Pro Tip: If you live in an apartment, this allows you to bring your plants inside if a frost is predicted.
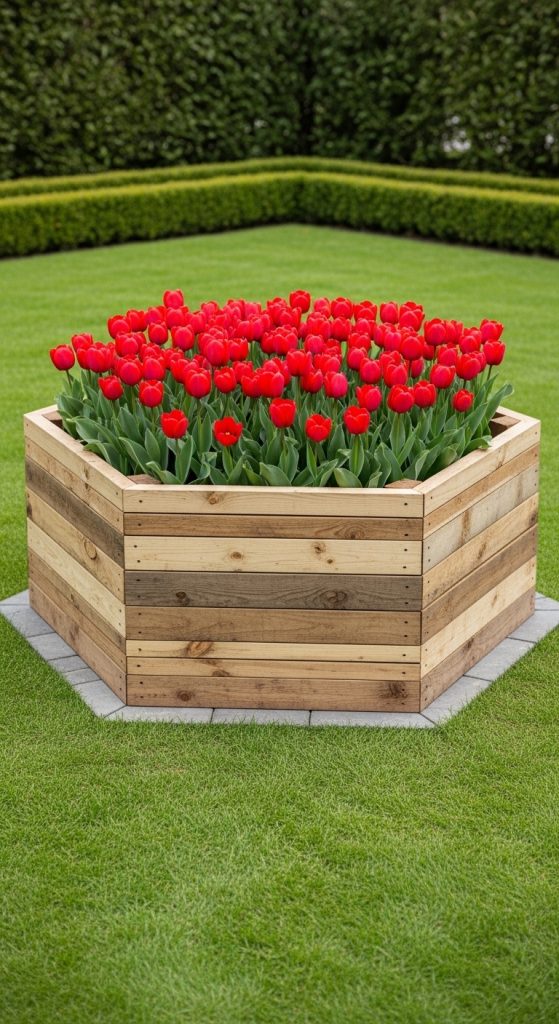
10. The Geometric Pallet Hexagon
If you want something that looks less like a “pallet project” and more like high-end landscaping, try a hexagon. This requires taking the pallets apart and rebuilding them into a unique shape.
- Materials Needed:
- Disassembled pallet slats
- Miter saw
- Wood glue and screws
- Steps:
- Cut 12 boards of equal length with 30-degree angles on the ends.
- Assemble two hexagonal rings.
- Stack the rings and secure them.
- Line with landscape fabric and fill with decorative flowers.
- Pro Tip: Paint the outside a dark charcoal or navy blue to make the green plants really “pop.”
Tips & Tricks for Pallet Garden Success
- Safety First: Only use pallets stamped with “HT” (Heat Treated). This means the wood was sterilized with heat, not toxic chemicals.
- Line Your Beds: Even with safe wood, it’s smart to line the inside with landscape fabric. It keeps the soil in and helps regulate moisture.
- Drainage is Crucial: If you build a bed with a solid bottom, make sure to drill plenty of 1/2-inch holes. Roots hate “wet feet.”
- Feed Your Soil: Pallet beds are often small, meaning plants eat up the nutrients quickly. Add fresh compost every spring.
Common Mistakes to Avoid
- Ignoring Weight: A pallet bed filled with wet soil is incredibly heavy. If you are building on a deck, make sure the structure can handle the load.
- Using Rotted Pallets: If the wood is crumbly or has mushrooms growing on it, don’t use it. It won’t hold the weight of the soil.
- Forgetting to Sand: Gardeners spend a lot of time around their beds. Sand the top edges to avoid getting a nasty splinter while you’re weeding!
Conclusion
A beautiful garden doesn’t require a huge investment. By using these 10 Pallet Garden Bed Ideas, you can recycle old wood into a thriving, food-producing space. Whether you are building a vertical strawberry wall or a massive raised bed, you are doing something great for your wallet and the environment.
Grab your gloves and start building—your first harvest is just a few weeks away!