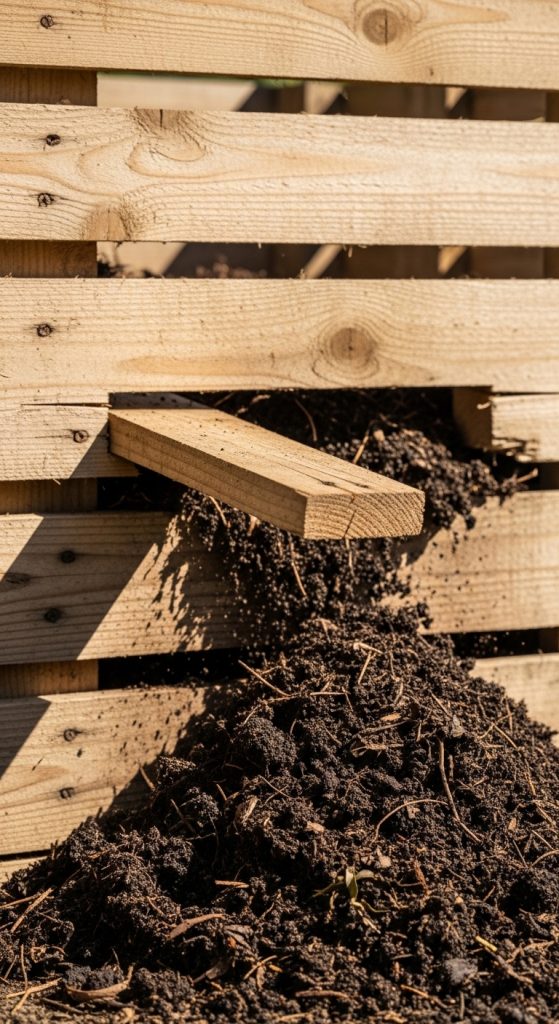
If you are a gardener, you know that “Black Gold” (compost) is the secret to huge tomatoes and vibrant flowers. But a high-quality compost bin can cost a pretty penny at the store, and the cheap plastic ones often don’t provide enough airflow. The solution? Use wood pallets.
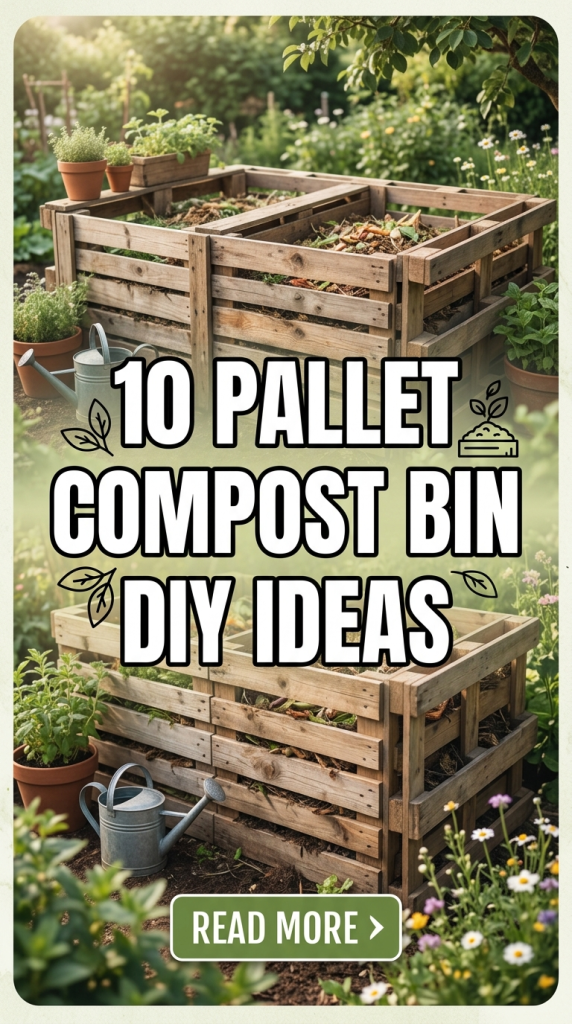
Because pallets are designed with built-in gaps, they are arguably the best material on Earth for composting. These gaps allow oxygen to reach the microbes that break down your food scraps, speeding up the process significantly. These 10 Pallet Compost Bin DIY Ideas range from simple one-hour projects to professional-grade multi-bay systems.
Let’s turn your kitchen scraps into garden fuel with these budget-friendly, sustainable designs!
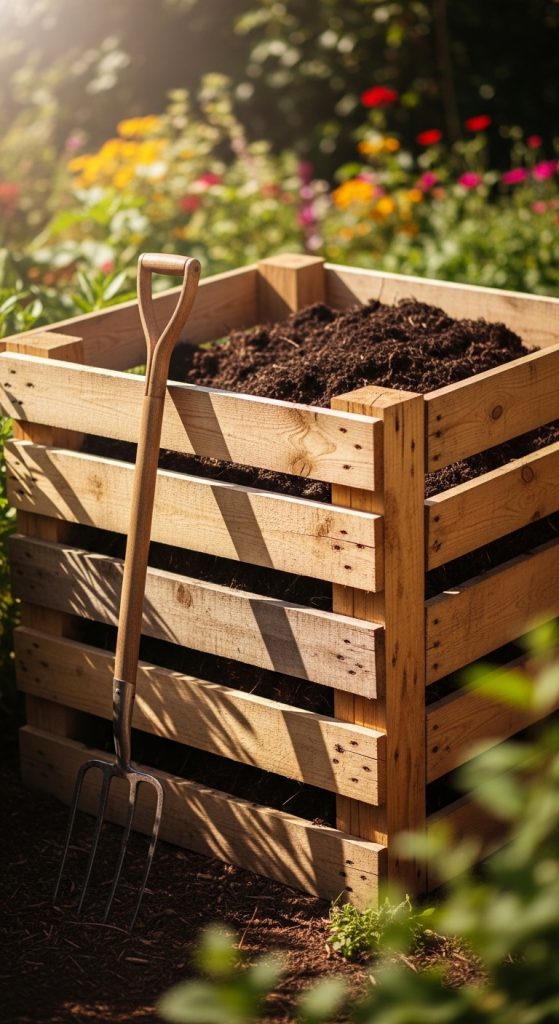
1. The Single-Bay “No-Nail” Bin
This is the absolute easiest way to start composting. It’s perfect for small households that just want to keep their kitchen scraps out of the landfill without building a massive structure.
- Materials Needed:
- 4 Matching pallets
- Heavy-duty zip ties or garden wire
- Steps:
- Stand three pallets up to form a “U” shape.
- Use zip ties or wire to lash the corners together tightly.
- Place the fourth pallet on the front and secure it on only one side to create a “hinge.”
- Place it directly on bare soil so worms can enter from below.
- Pro Tip: Use UV-resistant zip ties so they don’t snap after a few months in the sun.
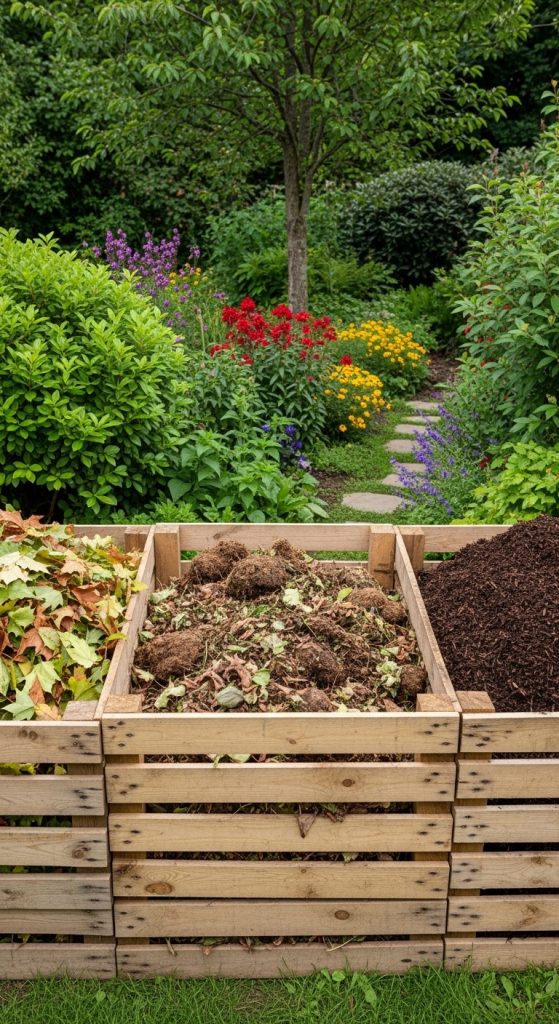
2. The Three-Bin Turning System
This is the “Gold Standard” for serious gardeners. One bin is for “fresh” scraps, the middle is for “cooking” compost, and the third is for “finished” soil ready for the garden.
- Materials Needed:
- 7 Pallets
- Long wood screws (3-inch)
- 2×4 Scraps for bracing
- Steps:
- Line up four pallets in a row to create the back wall.
- Attach the remaining pallets perpendicularly to create three separate “stalls.”
- Screw everything together securely.
- Leave the fronts open for easy access with a pitchfork.
- Pro Tip: This system works best if you “turn” the pile from Bin 1 to Bin 2 once a week to add oxygen.
3. The Slatted Removable-Front Bin
One of the hardest parts of composting is digging out the finished soil at the bottom. This design uses removable slats so you can take off the bottom boards and slide the good soil out.
- Materials Needed:
- 3 Pallets (for the sides/back)
- Loose pallet slats
- Two “U” shaped channels (made from scrap wood)
- Steps:
- Build a 3-sided pallet box.
- Attach “U” channels to the front edges of the side pallets.
- Slide loose boards into the channels horizontally from the top.
- When you need compost, just slide the bottom boards out!
- Pro Tip: Rub a little candle wax inside the “U” channels to keep the boards from sticking when they get wet.
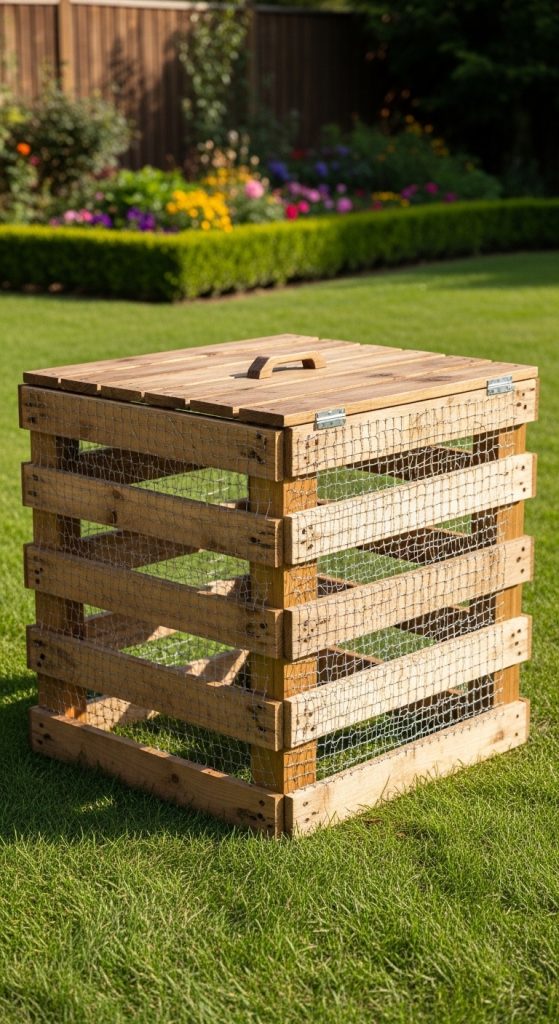
4. The Wire-Lined “Critter-Proof” Bin
If you live in an area with raccoons, rats, or curious dogs, you need to keep them out of your compost. This design adds an extra layer of protection to the pallet frame.
- Materials Needed:
- 4 Pallets
- 1/2 inch Hardware cloth (wire mesh)
- Industrial stapler
- Steps:
- Before assembling the bin, staple the wire mesh to the inside of every pallet.
- Assemble the bin in a square.
- Make sure the mesh extends all the way to the ground.
- Add a simple plywood lid on top to discourage climbing animals.
- Pro Tip: Use “hardware cloth” instead of chicken wire; it’s much stronger and the holes are too small for rodents.
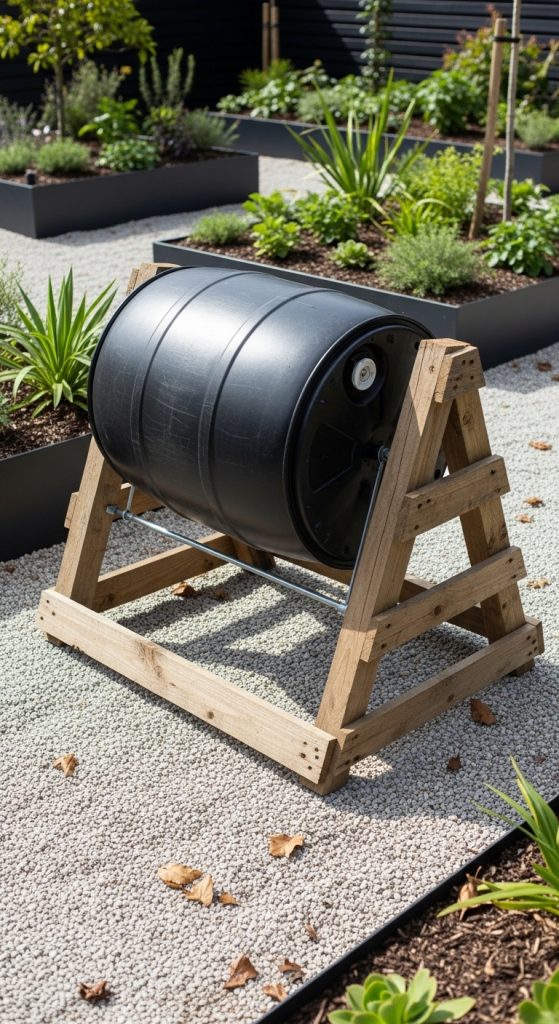
5. The “Tumbling” Pallet Barrel
Tumbling composters are great because they work fast, but they are usually expensive. You can build a frame out of pallet wood to hold a recycled plastic 55-gallon drum.
- Materials Needed:
- 2 Disassembled pallets
- A large plastic drum
- A sturdy metal pipe (for the axle)
- Steps:
- Build an “X” or “A” frame using the thick stringers from the pallets.
- Drill a hole through the center of the drum and slide it onto the pipe.
- Mount the pipe onto the pallet frame.
- Cut a hatch into the drum for adding scraps.
- Pro Tip: Paint the drum black to help it absorb heat, which speeds up the decomposition process.
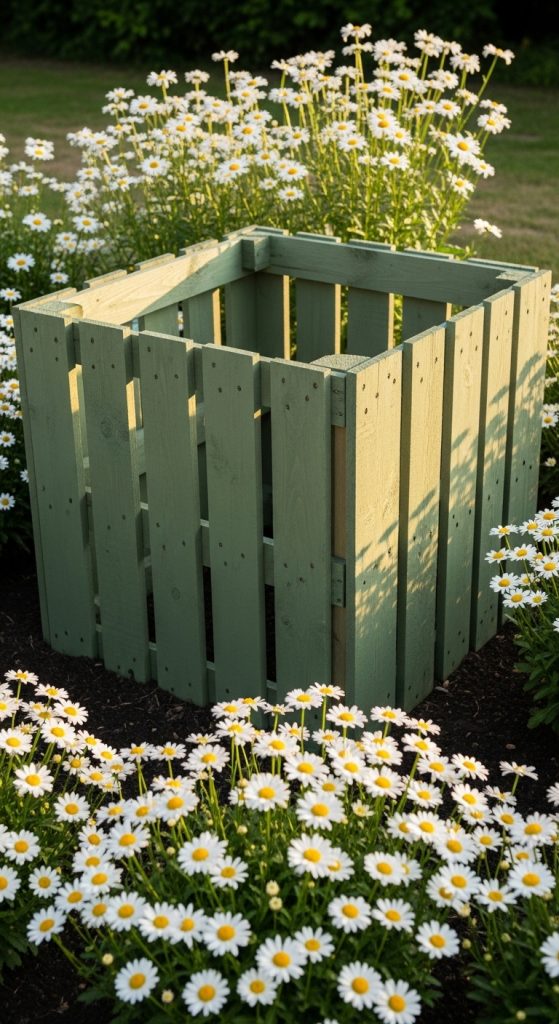
6. The Aesthetic Painted Picket Bin
Compost bins don’t have to be ugly! By breaking down pallets and rebuilding them into a neat picket-style fence, you can hide your compost in plain sight.
- Materials Needed:
- Disassembled pallet slats
- Exterior paint or stain
- 4 corner posts (2x4s)
- Steps:
- Cut pallet slats into uniform lengths.
- Paint them a garden-friendly color like forest green or slate gray.
- Nail the slats to the corner posts, leaving 1-inch gaps for air.
- Add a decorative finial or cap to the corner posts for a finished look.
- Pro Tip: Use a stencil to label it “COMPOST” for a trendy, organized garden vibe.
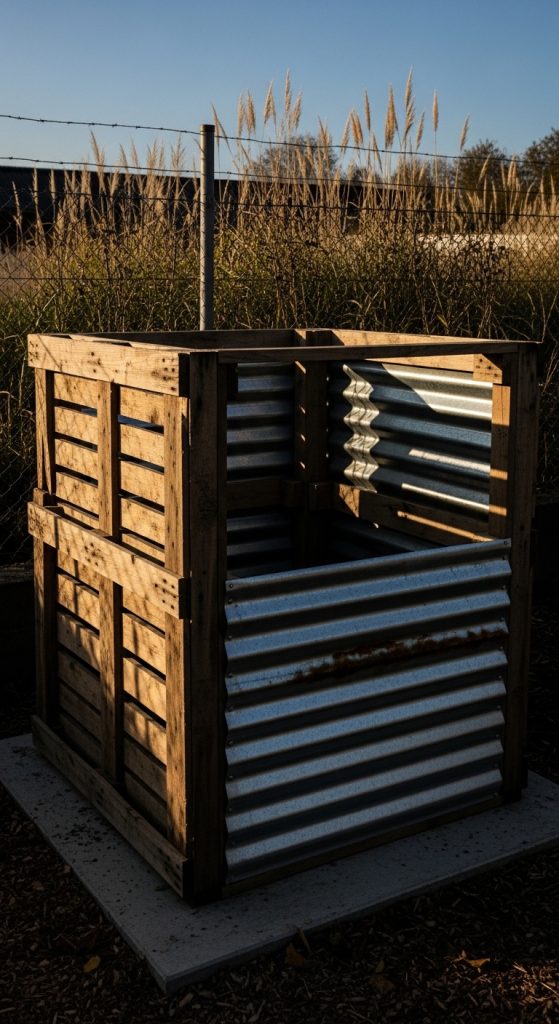
7. The Pallet & Corrugated Tin Hybrid
Wood rots over time (which is fine for a compost bin!), but if you want your bin to last 10+ years, combine the pallet frame with corrugated metal panels.
- Materials Needed:
- 3 Pallets
- Scrap corrugated metal sheets
- Self-tapping screws
- Steps:
- Build a standard 3-sided pallet frame.
- Line the exterior with the metal sheets.
- The metal protects the wood from moisture while the pallets provide the structure.
- Ensure there is a gap at the bottom for airflow.
- Pro Tip: Be careful with the edges of the metal! Sand them down or cover them with a thin strip of wood to prevent cuts.
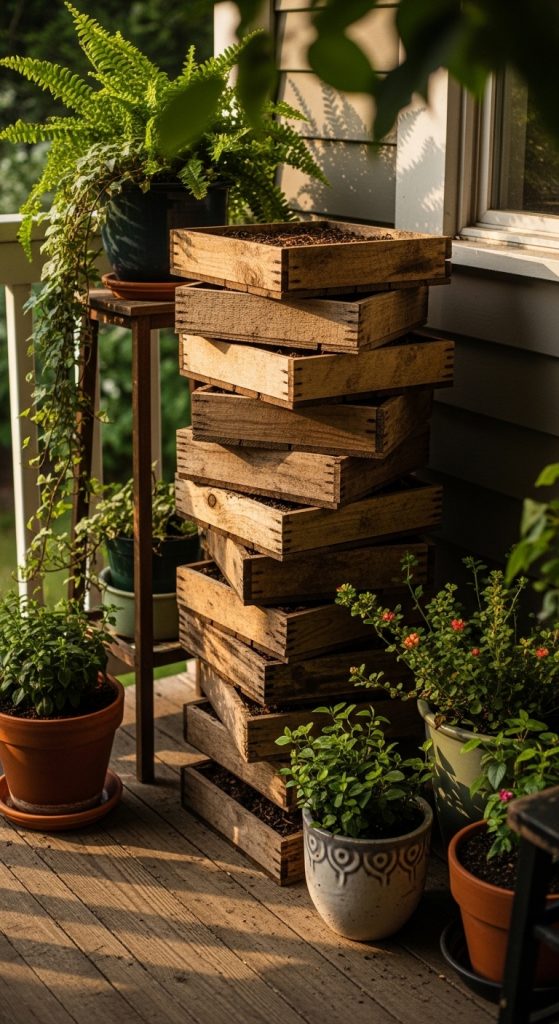
8. The “Worm Hotel” Pallet Tower
Vermicomposting (using worms) is great for small spaces. You can stack half-pallets on top of each other to create a “hotel” where worms can move up through the layers.
- Materials Needed:
- 2 Pallets cut into 2×2 foot squares
- Fine mesh screen
- Steps:
- Create shallow “trays” from the pallet pieces.
- Line the bottom of each tray with mesh that allows worms to pass through.
- Stack the trays. Feed the worms in the bottom tray first.
- Once that tray is full, add food to the one above; the worms will crawl up!
- Pro Tip: Keep this in a shaded area. Worms are sensitive to heat and will leave if the pallet wood gets too hot in the sun.
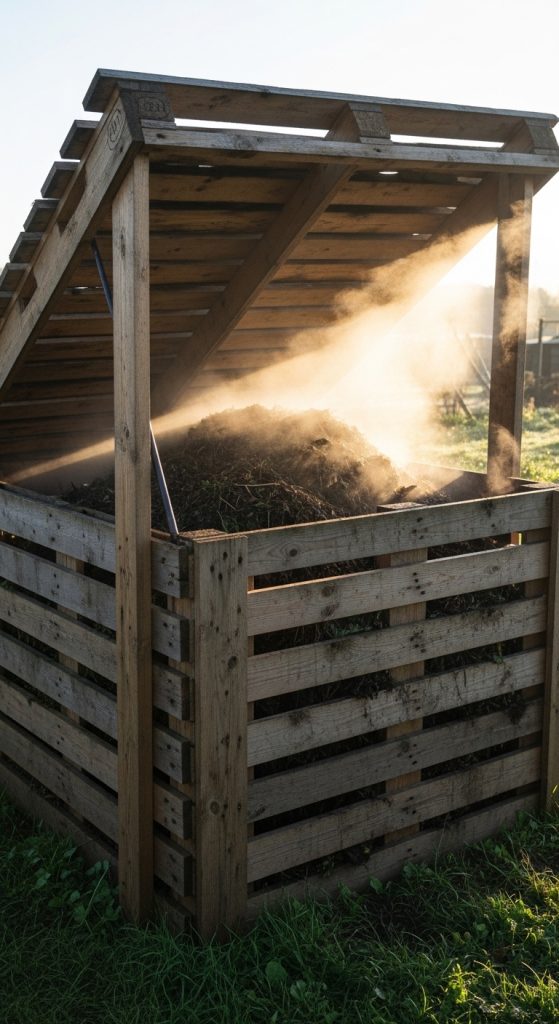
9. The Hinged-Lid “Hot” Box
“Hot” composting requires keeping the pile moist and insulated. This bin features a heavy pallet lid that holds in the heat generated by the bacteria.
- Materials Needed:
- 5 Pallets
- 2 Large gate hinges
- Handle for the lid
- Steps:
- Build a 4-sided box.
- Attach the 5th pallet to the top using the hinges.
- Make sure the lid fits snugly to trap heat.
- Add a thermometer through one of the pallet gaps to monitor the “cooking” temp.
- Pro Tip: If your pile reaches $140^{\circ}F$ to $160^{\circ}F$, it will kill most weed seeds and pathogens.
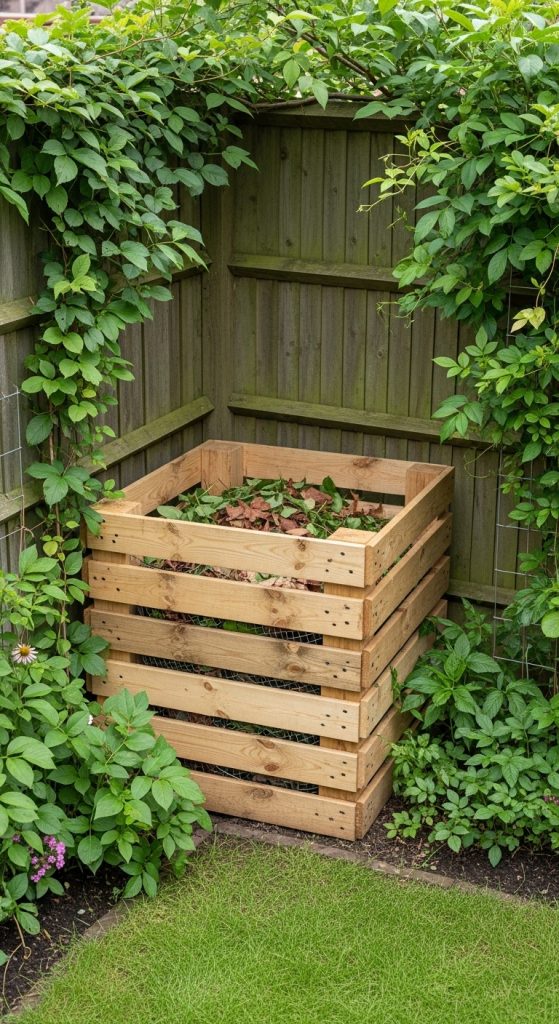
10. The Corner “Hidden” Bin
If you have a very small yard, you can use two pallets to create a triangular bin in the corner of your fence. It uses your existing fence as the back walls.
- Materials Needed:
- 2 Pallets
- Corner brackets
- Steps:
- Identify a 90-degree corner in your yard with a wooden fence.
- Place the two pallets to form a triangle with the fence.
- Secure the pallets to the fence and to each other.
- This saves space and uses 50% less wood.
- Pro Tip: Line the fence side with a piece of plastic or metal to prevent your fence from rotting along with the compost.
Tips & Tricks for Composting Success
- The Green & Brown Rule: For a pallet bin to work, aim for 1 part “Green” (kitchen scraps, fresh grass) to 3 parts “Brown” (dried leaves, shredded pallet cardboard).
- Keep it Damp: Your compost should feel like a wrung-out sponge. If it’s too dry, the wood in the pallets will suck the moisture out of the pile.
- Size Matters: A good pallet compost pile should be at least 3x3x3 feet. This is the “critical mass” needed to generate heat.
- Air is King: If your bin starts to smell bad, it usually means it needs more air. Poke a stick through the pallet gaps to create air chimneys.
Common Mistakes to Avoid
- Using Treated Wood: Never use pallets marked “MB” (Methyl Bromide). These chemicals will leach into your compost and eventually your food. Only use “HT” pallets.
- Composting Meat or Dairy: This will attract pests and create a terrible smell in your pallet bin. Stick to veggie scraps, coffee grounds, and yard waste.
- Forgetting to Turn: A pallet bin is great for airflow, but the center can still get compacted. Turn your pile once every two weeks for the fastest results.
Conclusion
Building a Pallet Compost Bin is the ultimate “full circle” project. You are using recycled wood to recycle your food waste to grow new food. It’s cheap, it’s easy, and it’s incredibly effective. Whether you build a single-bay bin or a professional three-bay system, your garden will thank you next spring!
Start your pile today and watch your garden grow like never before!