5. Pebble and Concrete Embedded Stepping Stones
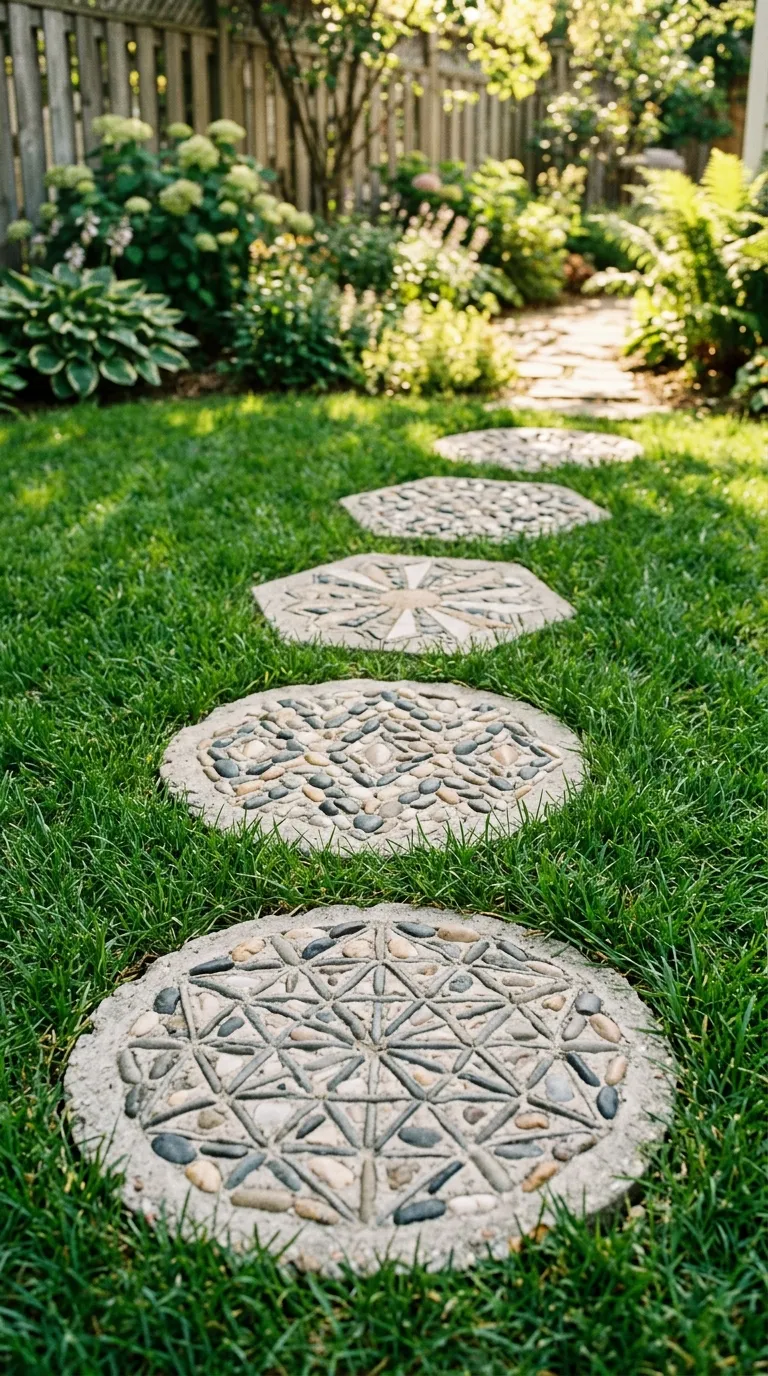
This is a fun, hands-on project that gives you complete control over the look of your path. By pouring your own concrete stepping stones and embedding decorative pebbles on top, you can create a path that’s truly one-of-a-kind. Each stone is a tiny piece of art.
You’ll need plastic stepping stone molds (available at craft and garden stores), quick-set concrete mix, a variety of decorative pebbles, and a release agent like cooking spray. Other helpful supplies include a bucket for mixing, rubber gloves, and a small trowel or your hands for pressing in the pebbles.
Mix the concrete according to the package directions, aiming for a thick, oatmeal-like consistency. Spray the molds with release agent, then fill each one about halfway. Press your pebbles into the surface in whatever pattern you like: geometric, organic, or even a simple initial or design. Then fill the rest of the mold with concrete and smooth the back.
Let the stones cure in the molds for 24 to 48 hours, then pop them out and let them cure for another week before installing. This gives the concrete time to reach full strength. While you wait, prepare your path base as you would for any stepping stone walkway: landscape fabric, sand, level, repeat.
Children love helping with this project, and it’s a great way to use up odd bits of decorative stone, sea glass, or broken pottery. The cost is wonderfully low, often under $50 for an entire path, and the finished result looks far more expensive than it is. For best results, seal the finished stones with a concrete sealer to protect them from staining and weather.