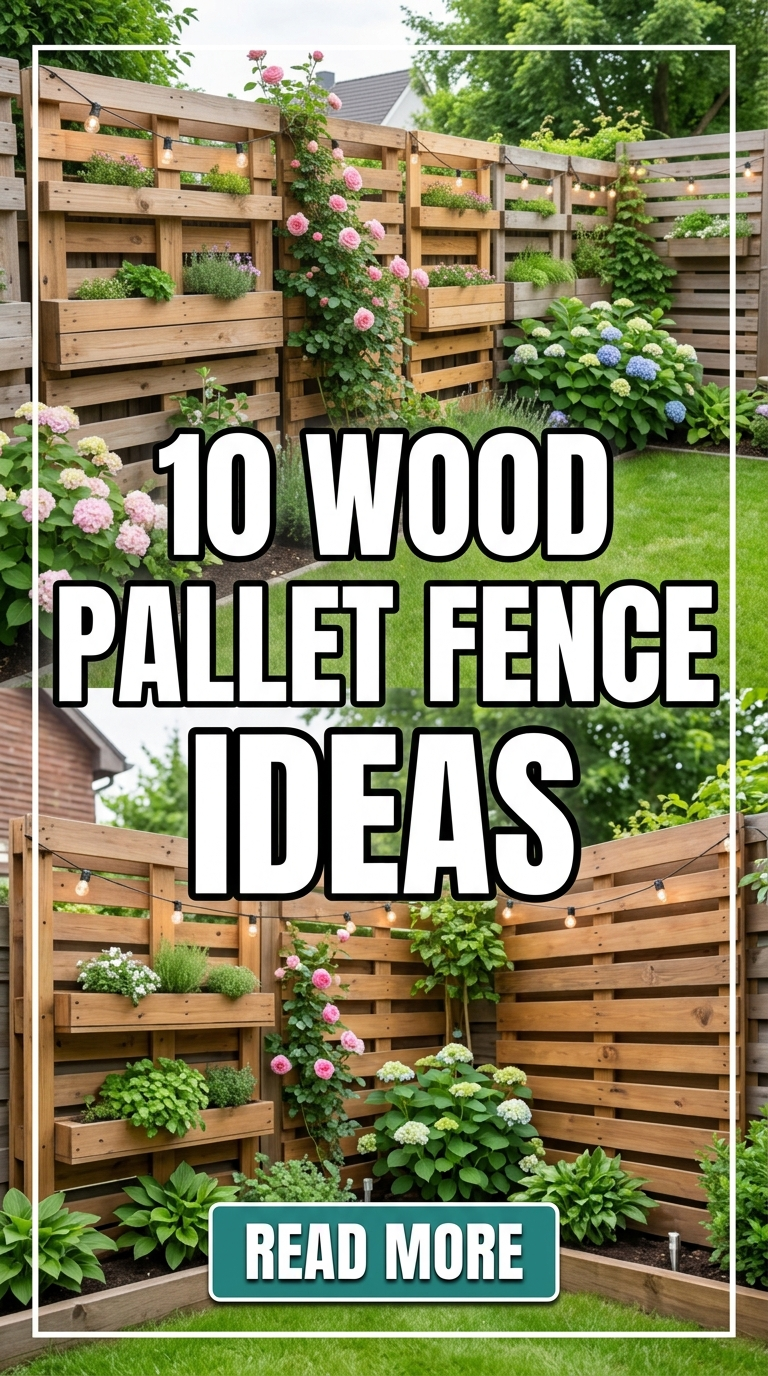
Do you look at your backyard and wish for a bit more privacy, but your bank account says “maybe next year”? We’ve all been there. Traditional fencing costs a small fortune, and hiring contractors can be a headache. But what if the solution was sitting behind your local grocery store for free?
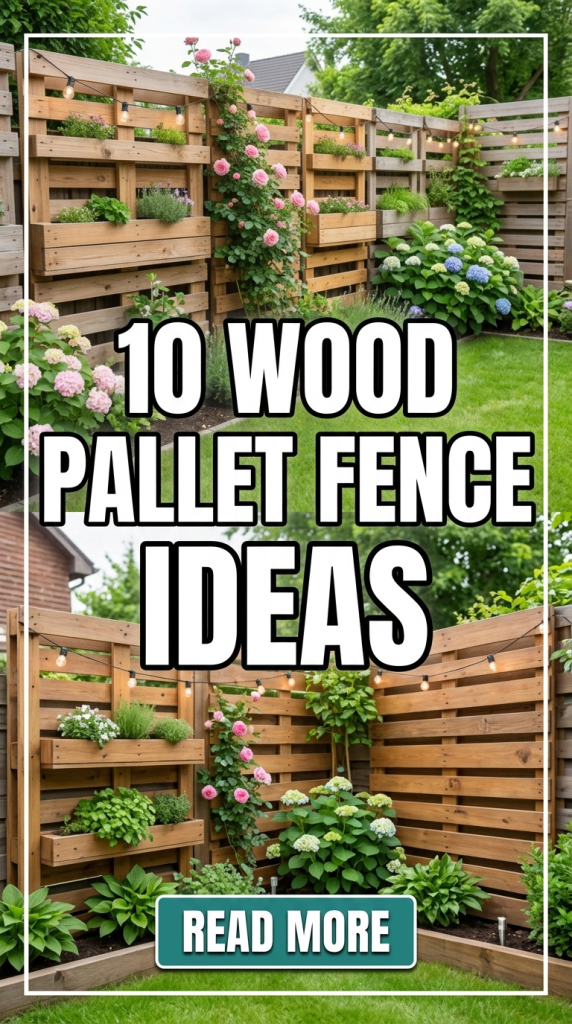
Enter the humble wood pallet. These sturdy wooden frames are the unsung heroes of the DIY world. With a little bit of elbow grease and some creativity, you can turn recycled wood into a stunning boundary for your home. Whether you want a rustic farmhouse look, a modern sleek vibe, or a colorful garden accent, these 10 Wood Pallet Fence Ideas will show you exactly how to level up your outdoor space without breaking the bank.
Let’s dive into these clever, eco-friendly projects that will make your neighbors stop and stare!
1. The Classic Vertical Privacy Wall
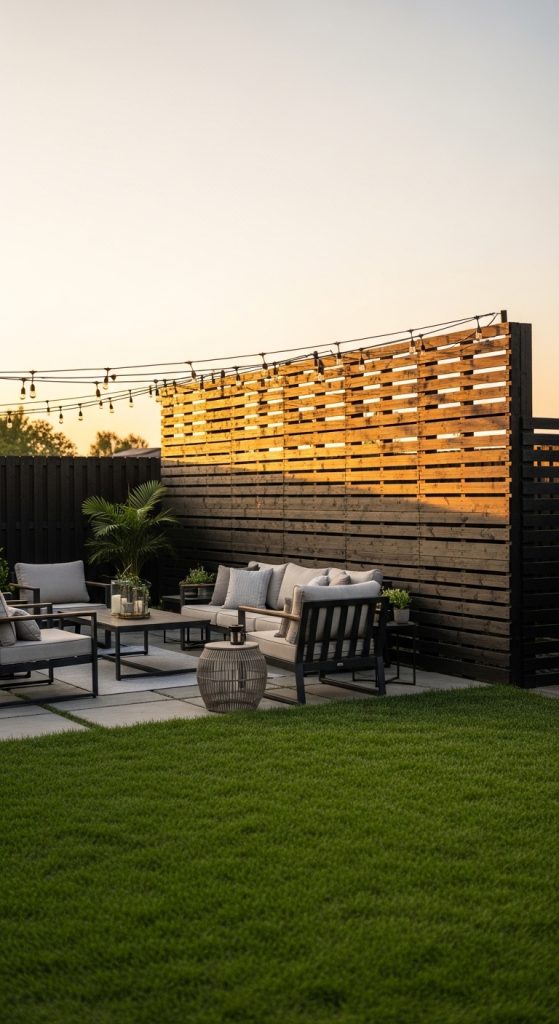
If you have nosy neighbors or just want a cozy corner to drink your morning coffee, the vertical privacy wall is your best friend. By stacking pallets upright, you create a solid barrier that looks intentional and high-end.
- Materials Needed:
- 10–15 Standard wood pallets
- 4×4 Pressure-treated posts
- Long deck screws
- Outdoor wood stain or sealant
- Steps:
- Dig holes every 4 feet and set your 4×4 posts in concrete.
- Slide the pallets over the posts or screw them directly to the face of the posts.
- Sand down any rough edges to prevent splinters.
- Apply a dark walnut or cedar stain for a professional finish.
- Pro Tip: Use a “solid color” stain to hide the fact that the wood came from different sources, giving the fence a uniform look.
2. The Colorful “Picket” Pallet Fence
Who says fences have to be brown? A colorful picket fence made from pallet slats adds instant curb appeal and a splash of joy to your front yard. This is perfect for marking boundaries without blocking the view.
- Materials Needed:
- Disassembled pallet slats
- Exterior paint (various bright colors)
- Nail gun or hammer
- Horizontal support beams (2x4s)
- Steps:
- Take your pallets apart and cut the slats to the same height.
- Cut the tops of the slats into a triangle “picket” shape.
- Paint each slat a different color (think rainbow or ombre).
- Nail them to your horizontal support beams with small gaps in between.
- Pro Tip: Use high-quality exterior latex paint; it flexes with the wood and won’t peel as quickly in the sun.

3. The Living Wall Planter Fence
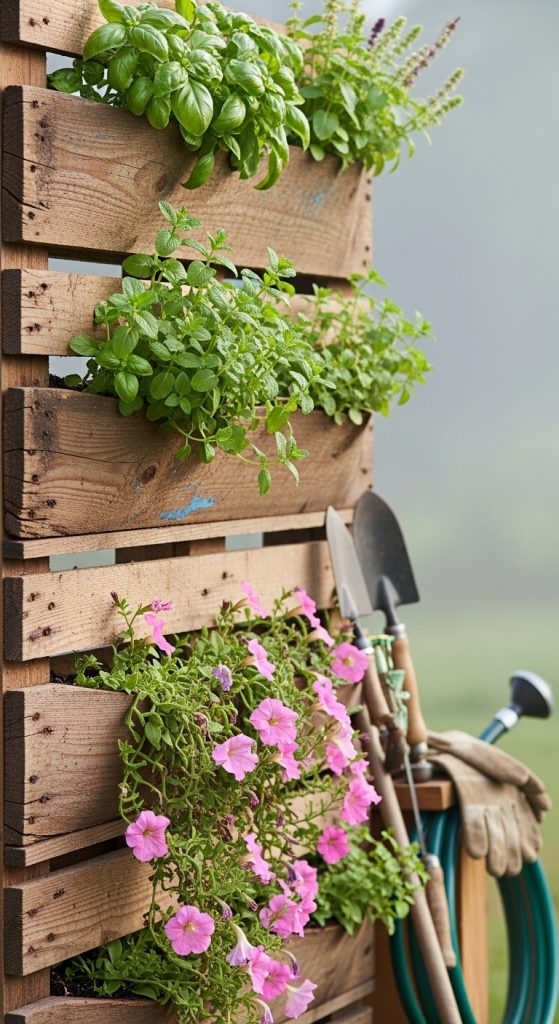
Why choose between a fence and a garden? This idea uses the structure of the pallet to hold small pots or herb boxes. It’s a functional piece of art that smells as good as it looks.
- Materials Needed:
- Intact wood pallets
- Landscape fabric (weed barrier)
- Heavy-duty stapler
- Potting soil and herbs/flowers
- Steps:
- Staple landscape fabric to the back and bottom of the internal “pockets” of the pallet.
- Secure the pallet to an existing wall or sturdy posts.
- Fill the fabric-lined pockets with potting soil.
- Plant trailing vines like ivy or useful herbs like rosemary and mint.
- Pro Tip: Install a simple drip irrigation line at the top so water trickles down to every level automatically.
4. The Horizontal Modern Slat Fence
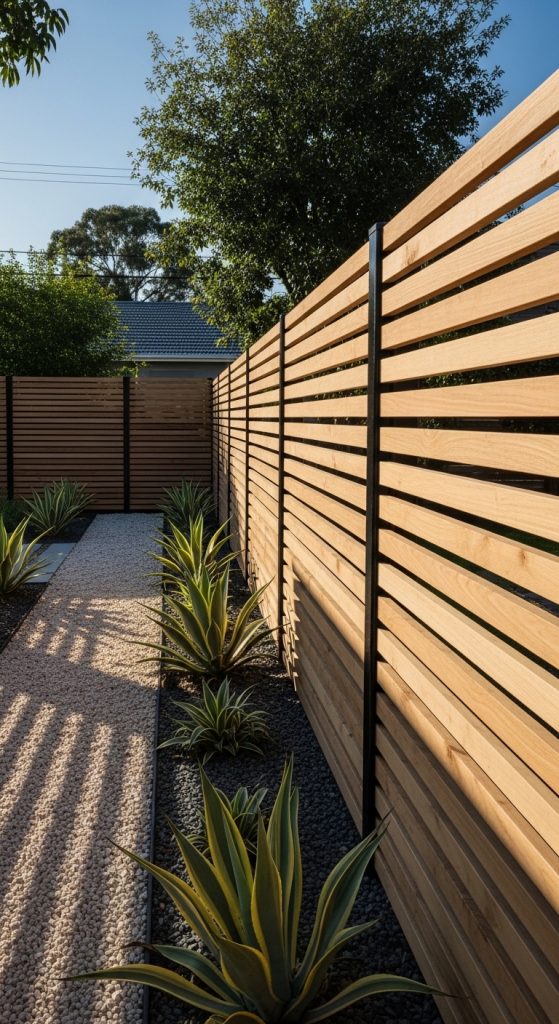
Horizontal lines are all the rage in modern landscape design. By stripping the pallets and mounting the boards horizontally with narrow gaps, you get a high-end “boutique hotel” look for pennies.
- Materials Needed:
- Disassembled pallet wood
- Black painted fence posts (for contrast)
- Level tool
- Galvanized screws
- Steps:
- Dismantle pallets carefully using a crowbar.
- Paint your support posts matte black for a modern aesthetic.
- Screw the slats horizontally across the posts.
- Use a small spacer (like a 1/2 inch piece of wood) to keep the gaps perfectly even.
- Pro Tip: Sand the boards thoroughly. Smooth wood reflects light better and looks much more expensive than rough-sawn timber.
5. The Rustic “Zig-Zag” Garden Border
If you aren’t a fan of digging post holes, this is the project for you. By hinging pallets together in a “V” or zig-zag pattern, the fence becomes self-standing. It’s perfect for temporary garden enclosures or keeping pets out of flower beds.
- Materials Needed:
- Half-height pallets (cut them in half horizontally)
- Heavy-duty gate hinges
- Drill and screws
- Steps:
- Cut your pallets to the desired height.
- Stand two pallets up in a “V” shape.
- Attach them at the joint using three hinges.
- Continue the chain until you’ve enclosed your area.
- Pro Tip: This fence is portable! Fold it up and store it in the garage during the winter to make it last longer.

6. The Reclaimed “Barn Wood” Style
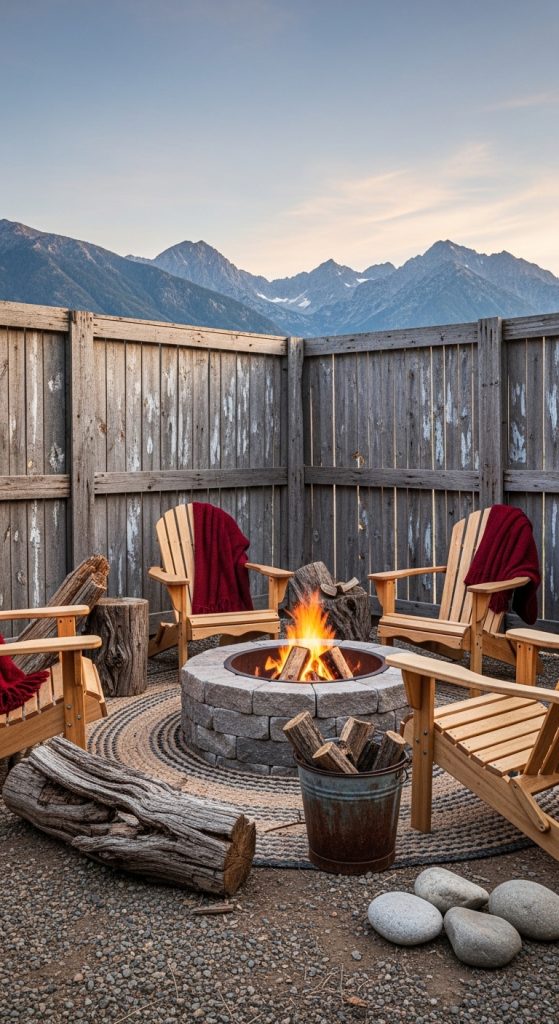
This style celebrates the imperfections of the wood. Instead of sanding everything smooth, you leave the nail holes, stamps, and weathered gray texture to create a fence that looks a hundred years old.
- Materials Needed:
- Old, weathered pallets (look for the “HT” heat-treated stamp)
- Clear matte outdoor sealer
- Heavy-duty framing nails
- Steps:
- Source pallets that have been sitting outside and have turned gray.
- Break them down but keep the character (don’t remove the stamps!).
- Attach the boards to a sturdy frame in a random, staggered pattern.
- Apply a clear sealer to lock in the gray color and prevent rot.
- Pro Tip: Mix boards from different sized pallets to create an “uneven” top edge for extra rustic charm.
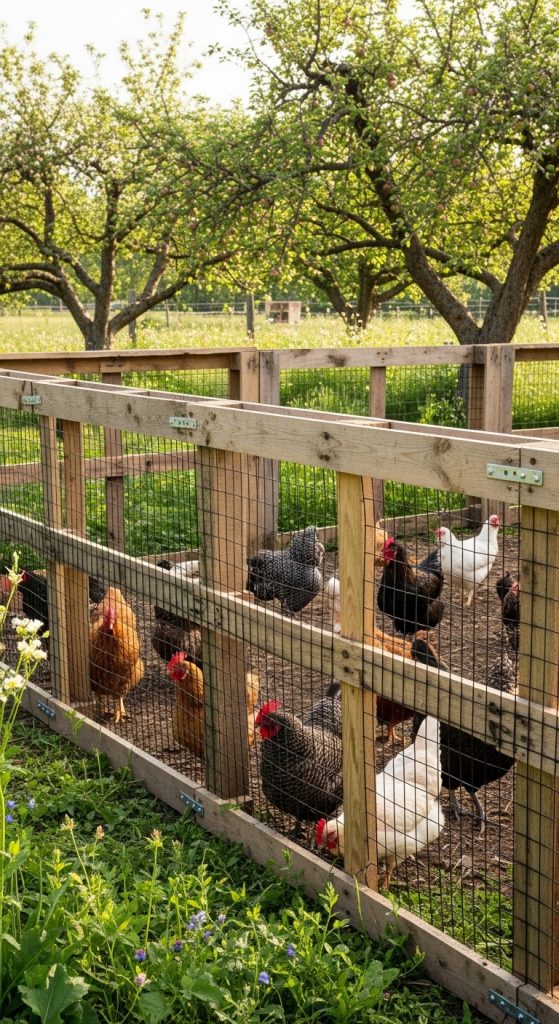
7. The Pallet & Poultry Wire Combo
Want to keep the chickens in or the rabbits out? Combining pallet frames with chicken wire creates a “see-through” fence that feels airy but provides great protection for your veggies.
- Materials Needed:
- Pallet frames (remove the middle slats)
- Chicken wire or hardware cloth
- Industrial staples
- Steps:
- Remove the front and back slats of the pallet, leaving just the outer frame and the thick inner blocks.
- Stretch chicken wire tightly across the frame.
- Staple the wire every 2 inches to ensure no gaps.
- Connect the frames together using bolts or zip ties for a quick setup.
- Pro Tip: Paint the wire black! Black wire “disappears” into the background visually, making your garden look much more open.
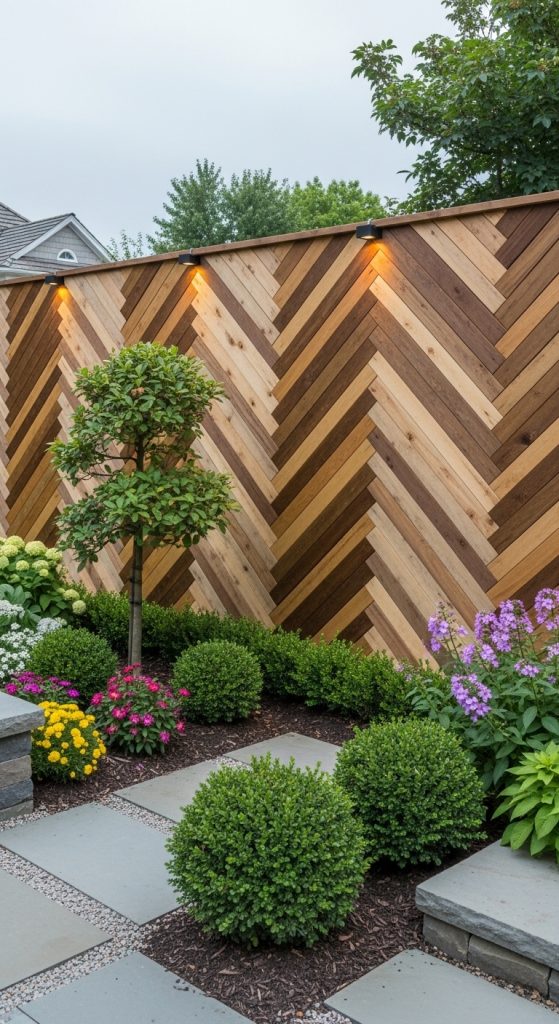
8. The Sophisticated “Herringbone” Pattern
This is for the DIYer who wants to show off a little. By cutting pallet slats at 45-degree angles, you can create a beautiful herringbone or chevron pattern that looks like a custom designer install.
- Materials Needed:
- Lots of pallet slats (all the same width)
- Miter saw
- Plywood backing (optional but helpful)
- Steps:
- Create a sturdy rectangular frame.
- Cut your slats at 45-degree angles on both ends.
- Starting from the center, nail the boards in a “V” pattern.
- Work your way outward until the frame is full.
- Pro Tip: Use two different stains (one light, one dark) on alternating boards to make the pattern really pop.
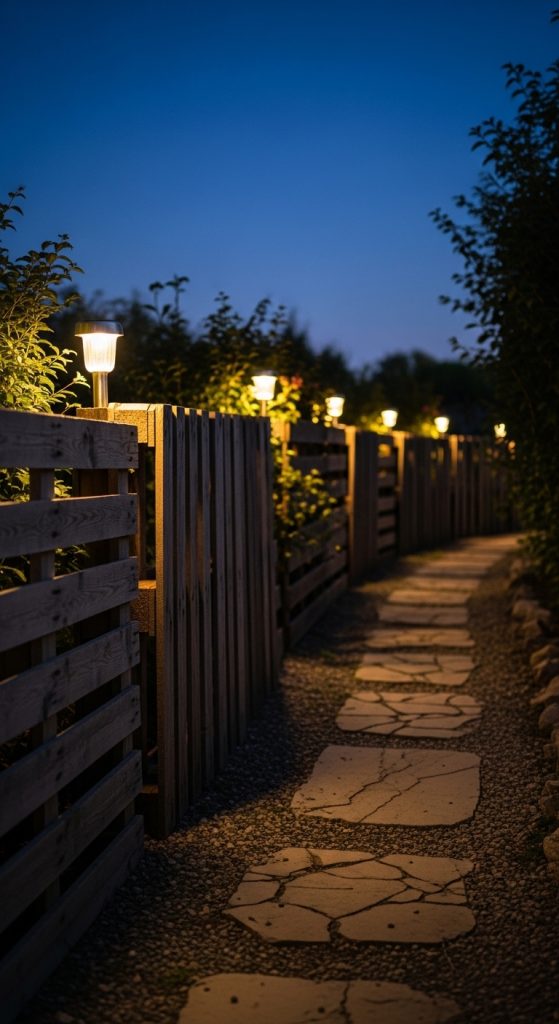
9. The Low-Profile Lighted Walkway Fence
Fencing isn’t just for privacy; it’s for safety too. A low-profile pallet fence along a path looks great and provides a place to mount solar lights to guide your way at night.
- Materials Needed:
- Pallet stringers (the thick inner boards)
- Solar-powered deck lights
- Exterior wood glue
- Steps:
- Use the thickest parts of the pallet to create a low, sturdy “knee wall.”
- Space the vertical supports about 3 feet apart.
- Mount a flat board along the top to act as a “handrail.”
- Screw solar lights onto every other post.
- Pro Tip: Make sure the solar lights are at the highest point of the fence so they catch enough sun during the day to stay lit all night.
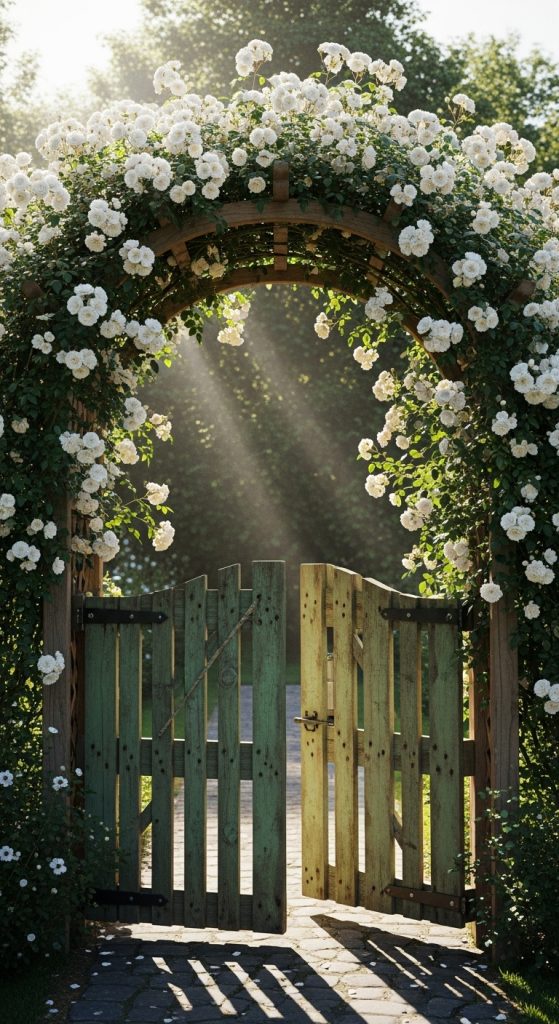
10. The Pallet Gate & Arbor
Every fence needs an entrance. You can use two pallets to create a charming double gate, topped with a simple arbor made from pallet scraps for climbing roses or grapes to grow over.
- Materials Needed:
- 2 Matching pallets
- Heavy-duty gate latch
- 4 Large strap hinges
- Extra slats for the “archway”
- Steps:
- Reinforce the corners of two pallets with “L” brackets.
- Hang them from heavy-duty 4×6 posts.
- Build a simple square frame above the gate using the long “stringer” boards from a pallet.
- Add a decorative latch in the center.
- Pro Tip: Add a small diagonal board (a cross-brace) to the back of each gate. This prevents the wood from sagging over time.
Tips & Tricks for Pallet Fencing Success
- Check the Stamps: Always look for the “HT” (Heat Treated) stamp. Avoid pallets marked “MB” (Methyl Bromide), as they contain harmful chemicals you don’t want in your yard.
- Sand Like a Pro: Pallet wood is notoriously rough. Use a 60-grit sandpaper first to get the big bumps off, then finish with 120-grit for a smooth touch.
- Pre-Drill Your Holes: Pallet wood is often very dry and prone to splitting. Always drill a small “pilot hole” before driving in a screw.
- Think About the Ground: Wood rots when it sits in mud. Try to keep the bottom of your pallets 2 inches off the ground, or use pressure-treated wood for the parts that touch the dirt.
Common Mistakes to Avoid
- Using Rusty Nails: Old pallet nails are often weak. Don’t rely on them to hold your fence together. Always use new, galvanized outdoor screws.
- Ignoring the Level: A fence that leans even a tiny bit will look messy. Use a spirit level on every single post and pallet.
- Forgetting Maintenance: Even though it’s “free” wood, it still needs love. Re-seal or re-stain your fence every two years to keep it from rotting.
- Not Checking Local Laws: Some Homeowners Associations (HOAs) or cities have rules about fence height or materials. Check your local codes before you start building!
Conclusion
Building a fence doesn’t have to cost thousands of dollars. With these 10 Wood Pallet Fence Ideas, you can create a beautiful, functional, and eco-friendly boundary for your home using nothing more than recycled materials and a bit of creativity. Whether you choose the modern horizontal look or the classic herb-garden wall, you’re doing something great for your home and the planet.
So, what are you waiting for? Grab a crowbar, find some pallets, and start building your dream garden today! If you found this guide helpful, share it with a friend who loves DIY projects!